Where to buy
Need advice? Our highly trained dealers are happy to help with questions, small or large.
Find a dealer near you
How to charge RV batteries: 4 methods explained
Once you’ve chosen a battery chemistry and sized your RV battery bank, it’s time to look at how you’ll charge those RV batteries. There are four ways of charging a leisure battery; this article provides an overview of these charging methods, including a look at how long each one might take to charge your RV batteries.
The four ways of charging an RV battery are:
Most RV users combine some or all of the above methods to increase their charging capacity and independence on the road. Each of these RV battery charging methods is provided by a specific RV electrical system component; explore how they all fit together in our overview guide. Let’s explore each in turn, starting with the two off-grid charging methods.
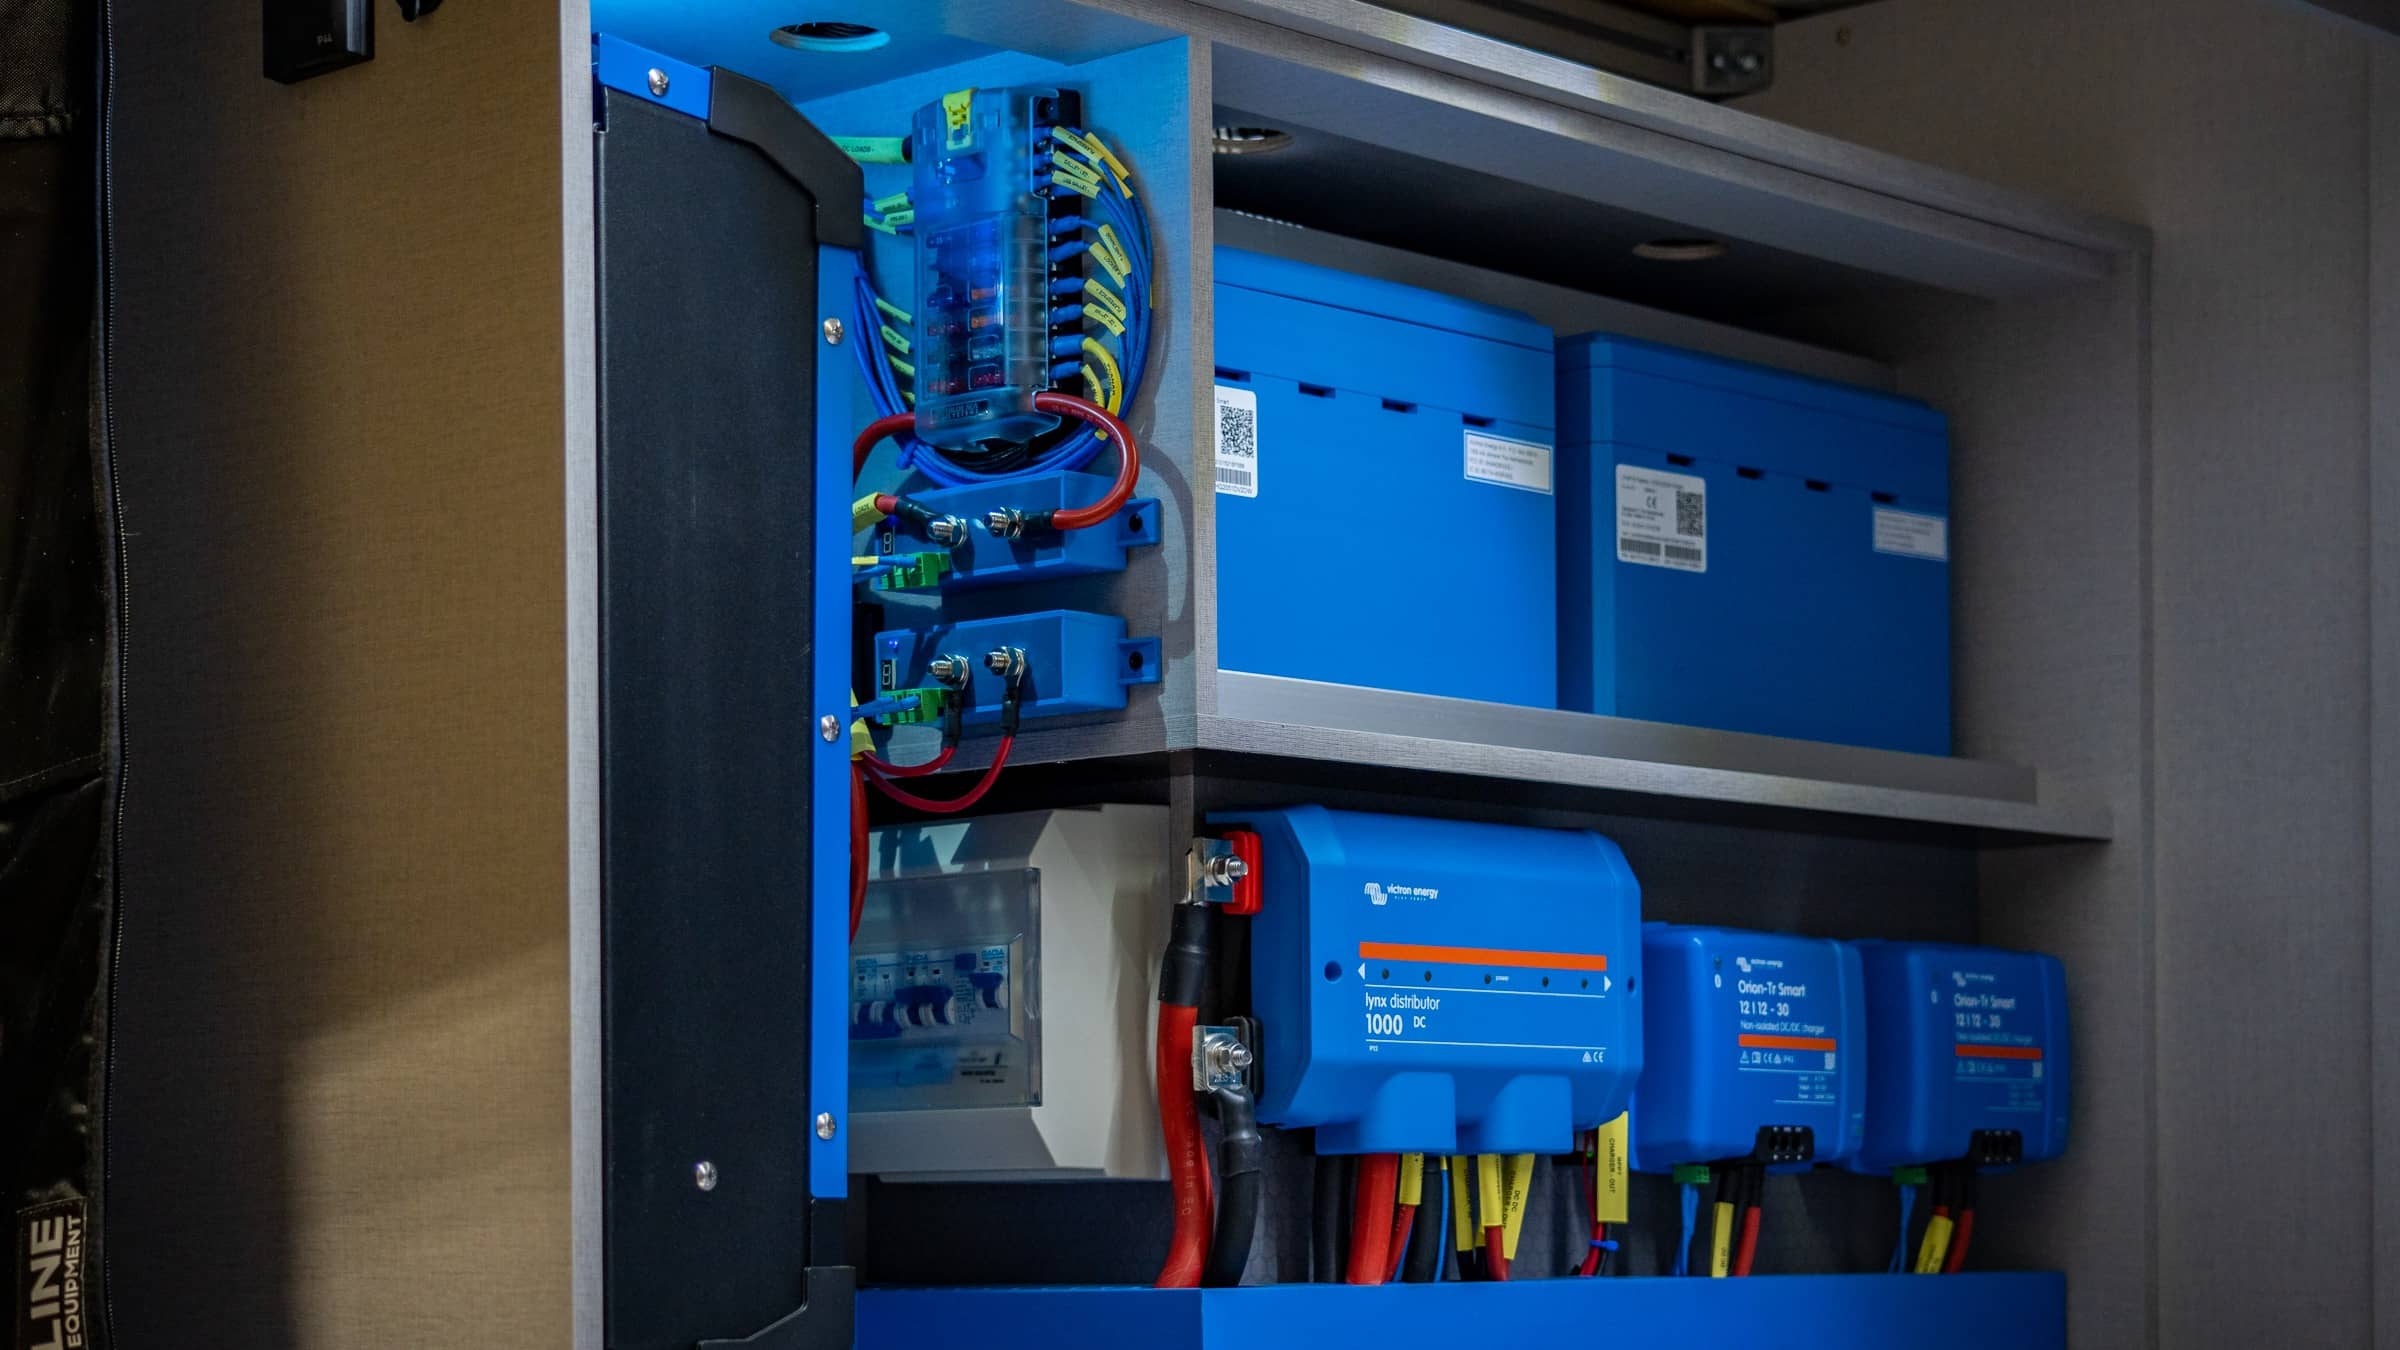
Alternator charging involves using the vehicle’s alternator to charge your RV batteries. An alternator is a device present in all motor vehicles which uses a small amount of power from the engine to produce electricity. This electricity is used to charge the starter battery and power vehicle electrics like headlights, windscreen wipers, radio, and air-conditioning. We can tap into the alternator with a split charger or DC-DC charger, and use it to charge our RV batteries whilst the engine is running. Alternator charging is comparatively simple to implement and is a convenient way of keeping your RV batteries charged whilst on the move and off-grid.

How long it takes to charge the RV battery from the vehicle depends on a number of factors; your charger type, its output capacity, and your RV battery chemistry are the most important.
Take, for example, a 400Ah leisure battery bank which has been discharged to 200Ah, and is paired with a 50A charger:

These charge times increase with bigger battery banks and lower capacity chargers; size your charger to the vehicle alternator, and consider installing lithium batteries for the fastest possible charge times. In all cases, we can see that charging the RV battery from the vehicle alternator can take longer than the duration of a drive. For that reason, most RV users will pair alternator charging with other charging methods.
Most RVs supplement alternator charging with solar charging. Solar charging uses solar panels, usually mounted to the roof of the RV, to charge the leisure batteries via a solar charge controller. Solar charging a camper battery continues as long as the panels are in daylight, requiring no action on your part. Solar panels have no moving parts and generally have very long service lives, making them a maintenance-free charging method that will likely last as long as your RV does. Modern panels are comparatively efficient, providing useful energy even on overcast days, and it’s easy to build a solar array that uses most or all of your RV’s roof space to maximise charging.
The efficacy of your solar charging system depends on the type of solar panel you use, with rigid monocrystalline panels being more efficient than flexible and polycrystalline panels. It also depends on your solar charge controller type: this is the device that manages the electricity generated by your panels and uses it to charge your leisure batteries. MPPT solar charge controllers are much more efficient than PWM solar charge controllers except in the smallest systems. Other key factors are the size, orientation, shading, and temperature of your solar array.
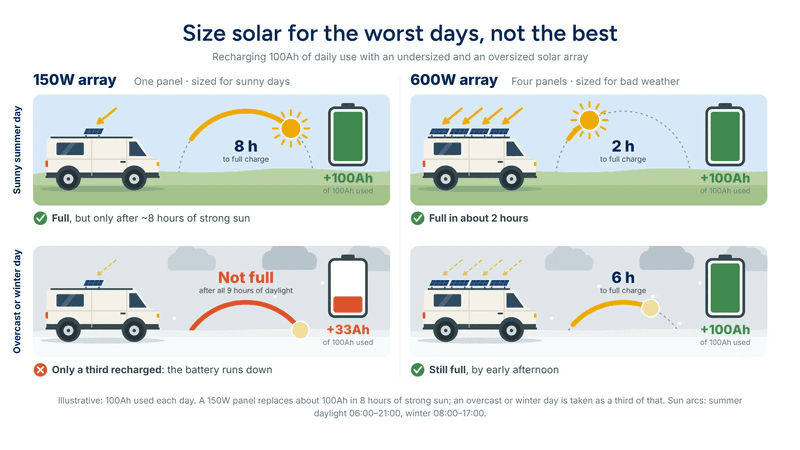
Once you’ve chosen efficient solar panels and an efficient solar charge controller, charge times depend on the size of your solar array. Therefore, it’s better to ask; how long do you want it to take? The goal is to minimise the time it takes by oversizing the solar array.
A 150W solar array could provide 100Ah of battery charge in about 8 hours of direct, intense sunlight. That’s okay for keeping the battery bank charged during sunny summers, but what happens in bad weather or when winter shortens the days? It’s much better to size your solar array so that it can charge 2 or 3 times your battery capacity in 5 or 6 hours; for a daily electricity usage of 100Ah, that would mean a 400-720W solar array. Solar arrays are often sized well beyond the minimum required to ensure off-grid independence even when weather conditions aren’t ideal. Learn much more about how to charge RV batteries quickly using solar panels in our guide to sizing an RV solar system.
An RV equipped with both a DC-DC charger and a solar array will charge its batteries much faster than with DC-DC charging or solar charging alone, and in a greater variety of circumstances. This is why off-grid RV builds almost invariably include both of these charging methods.
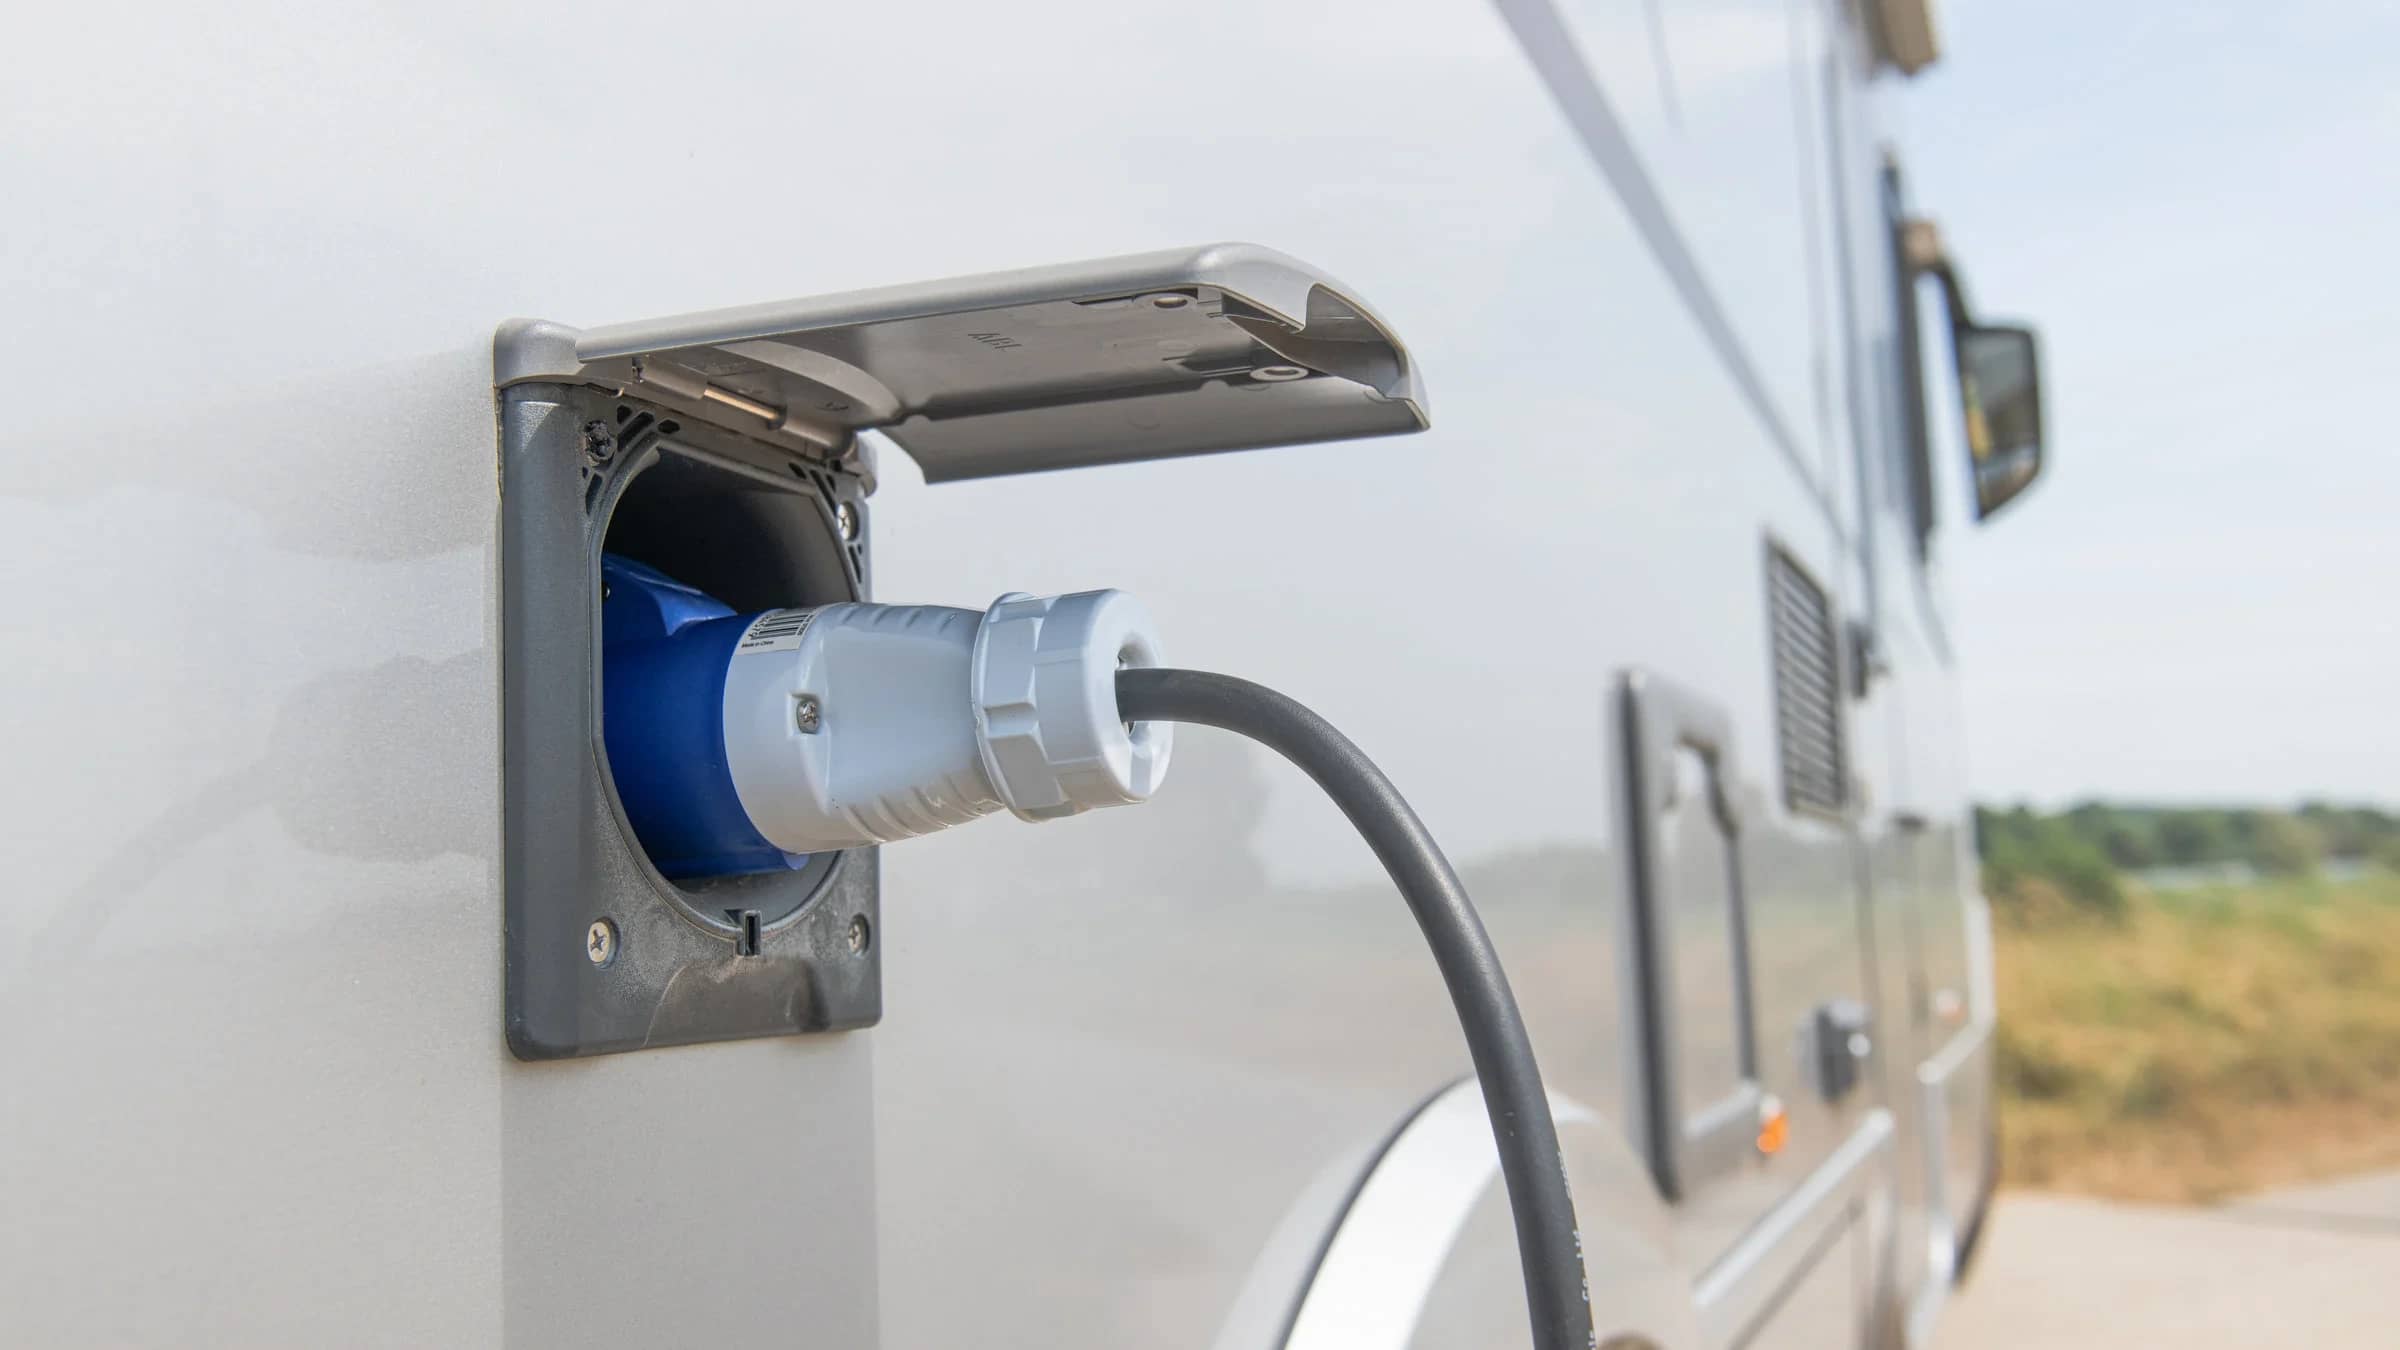
Shore power charging involves using a mains AC electricity connection (an ‘on-shore’ connection in the marine world) to charge your RV batteries. A shore power charging system is comprised of:
When you pull up to a campsite, the outlet socket you encounter can vary by region, as well as within regions:
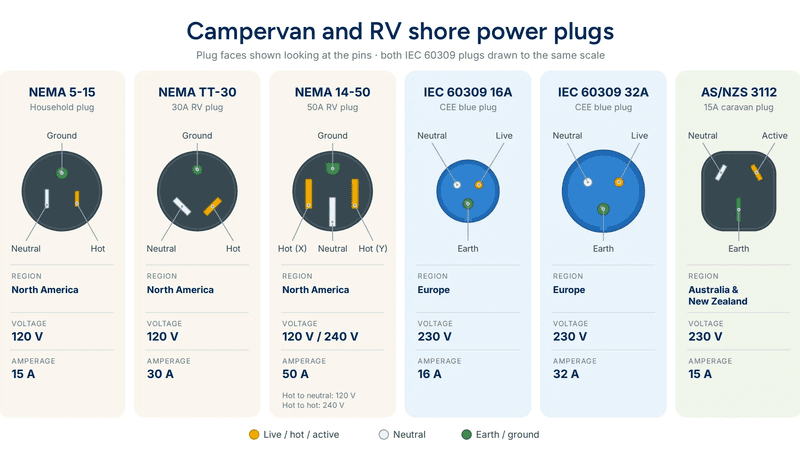
When choosing an RV plug, most users default to a certain current capacity (amperage) within their given region:
Ultimately, the capacity of your mains power supply should match the size of your loads. An inverter/charger with PowerAssist or a similar function allow you to add battery power to shore AC in order to run loads which are beyond the limit of the shore power current.
Whatever RV plug you choose, your wires, breakers, and battery charger or inverter/charger need to be rated to match.
A dogbone is a short adapter lead with a different connector on each end. This allows you to plug your RV into a different mains outlet from the shore power inlet you’ve chosen. In North America, both step-down (50A to 30A) and step-up (30A to 50A) are available, as well as ‘cheater’ cables which have a domestic 15A plug on one end and a 30A RV plug on the other.
CAUTION: using a step-up adapter to plug a 50A RV into a 30A shore terminal means you can pull more power than the shore terminal can handle. You need to manage loads yourself to avoid tripping the terminal. An inverter/charger with configurable current limits allow you to match the site limit, avoiding tripping the power supply.
In the UK and Europe, both step-down and step-up adapters are available, and the same principles apply. 16A CEE to domestic adapters are also widely used.

These are the devices that receive the incoming shore power and distribute it to your van’s electrical system. A battery charger simply uses shore power to charge your leisure batteries, whilst an inverter/charger combines this function with that of an inverter, allowing you to power mains devices from your leisure batteries whilst off-grid.
It should be noted that a battery charger converts the AC shore power supply to the 12V used to charge your batteries, effectively stepping up the current. In North America, a 120V, 30A shore power terminal can supply up to 3600W of power. In the UK/Europe, a 230V, 16A terminal can supply up to 3680W. Charging batteries at an average of 14.4V means that a 3600W terminal can supply a maximum of 250A to your battery charger - in practice it’s extremely unlikely that your battery charger will be capable of exceeding that current.
Read much more about battery chargers and inverter/chargers, as well as important information on consumer units and grounding, in our guide to adding shore power to your van.
How long it takes to charge your RV battery from shore power depends on the capacity of your battery charger.
Increasing the capacity of your battery charger would reduce these charge times.
NOTE: In the UK and Europe, things are complicated by the fact that the actual supply of a campsite shore power connection can vary between 5-16A in the UK and 6-10A in Europe. High-capacity battery chargers might pull more power than a connection limited to 5A can handle, tripping the terminal. This is where an inverter/charger with an adjustable input current limit or battery-assisted supply functionality comes in; read more about these functions in our help-me-choose inverter/charger guide.
Generator charging is a useful backup whenever shore power isn’t available and your other charging methods are insufficient. Generators produce AC electricity which is converted to DC by your battery charger or inverter/charger.
CAUTION: When charging with a generator, it’s a good idea to run it for a few minutes before plugging into your RV in order to let the output stabilise. Equally, disconnect all loads and let the generator run for a few minutes before turning it off. Turning it off whilst it’s powering loads leaves hot components no longer cooled by coolant and oil and produces voltage sag which can damage electrical components.
As with shore power charging, how long it takes to charge your RV battery with a generator depends more on your battery charger’s rated current than on the generator’s output. A 2000W generator charging a leisure battery at 14.4V can supply around 130A: much bigger than any battery charger you’re likely to install.
NOTE: Using a generator to charge a lead-acid battery beyond 80% is extremely inefficient.
These four charging methods are almost invariably used in combination to create an electrical system that can support your power usage as you travel. Each method is supported by a dedicated subsystem of devices; make sure you understand each one before choosing devices. For much more information on the anatomy and sizing of a solar charging system, take a look at our dedicated guide. To better understand your charging needs, start by accurately sizing your leisure battery. Finally, for a detailed overview of your RV electrical system as a whole, check out our overview article.
Chris Wallace-Tarry • 03 September 2026
Understanding the Components of Your RV Electrical System
What components make up an RV electrical system? Dive into a structured overview of how to build a complete system, piece by piece.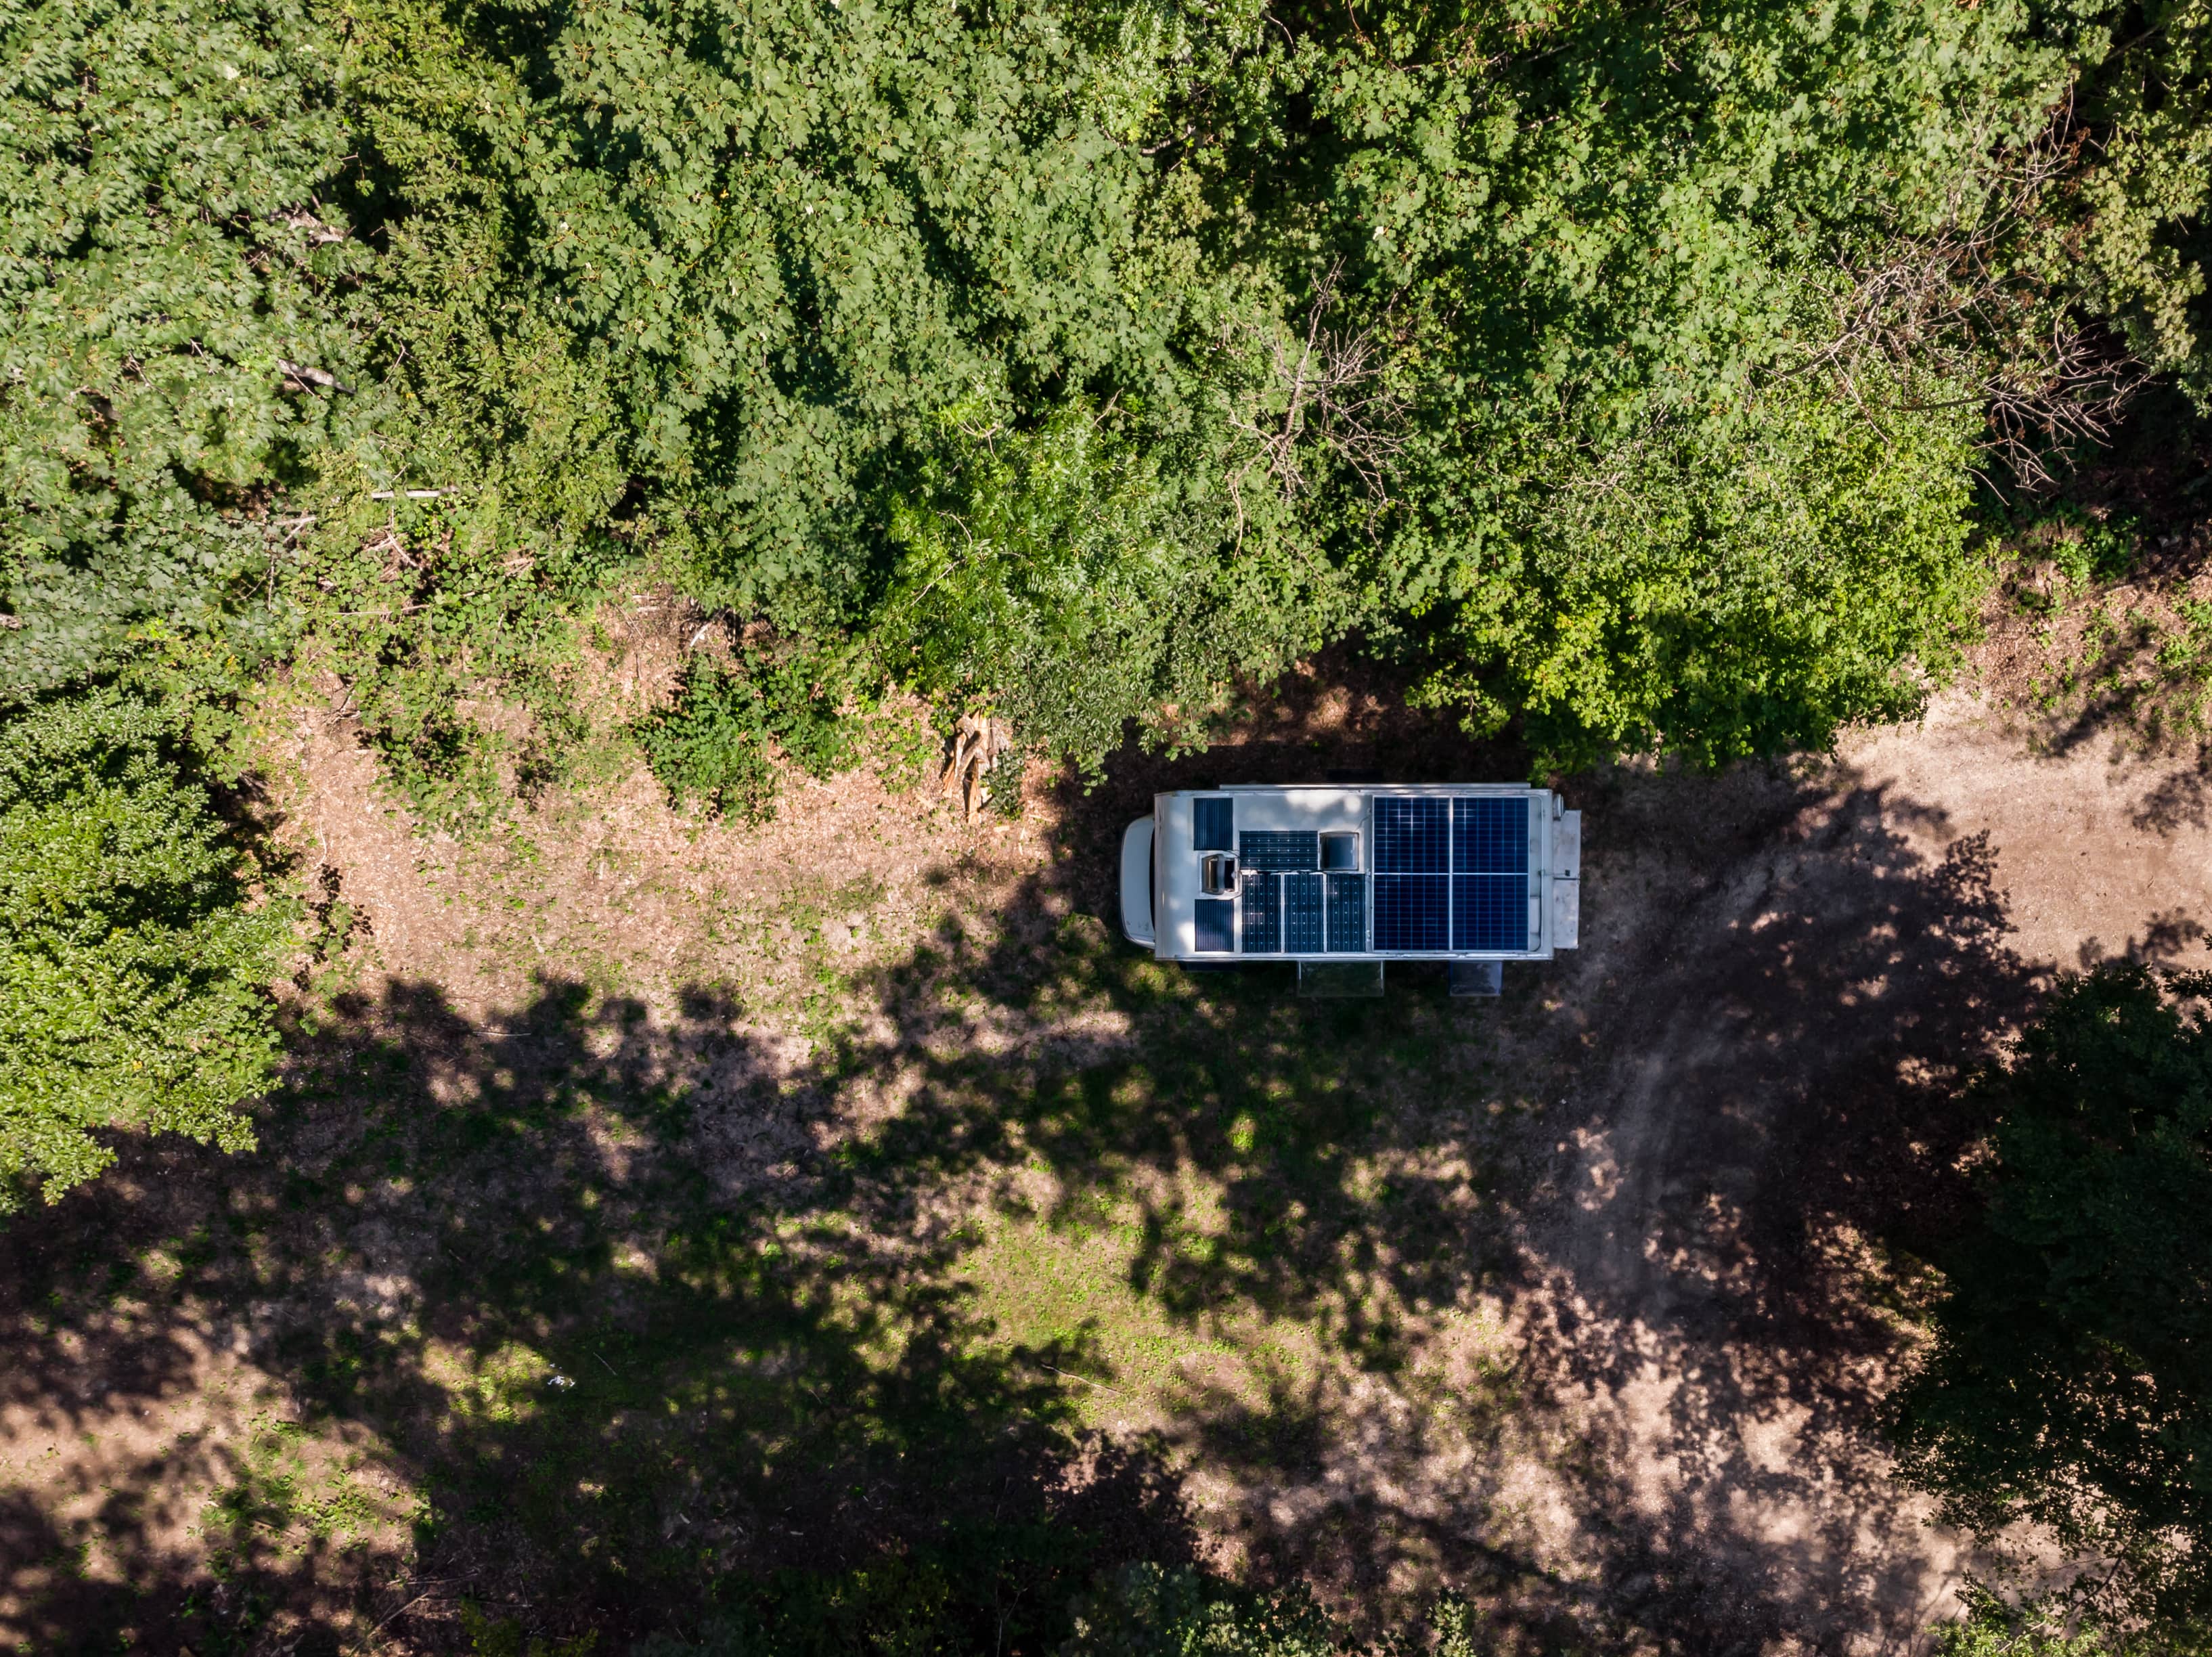
Beril Berkem • 16 June 2026
How much does an RV solar system cost?
Get a feeling for the cost of an RV solar system and its components through some helpful examples and tips.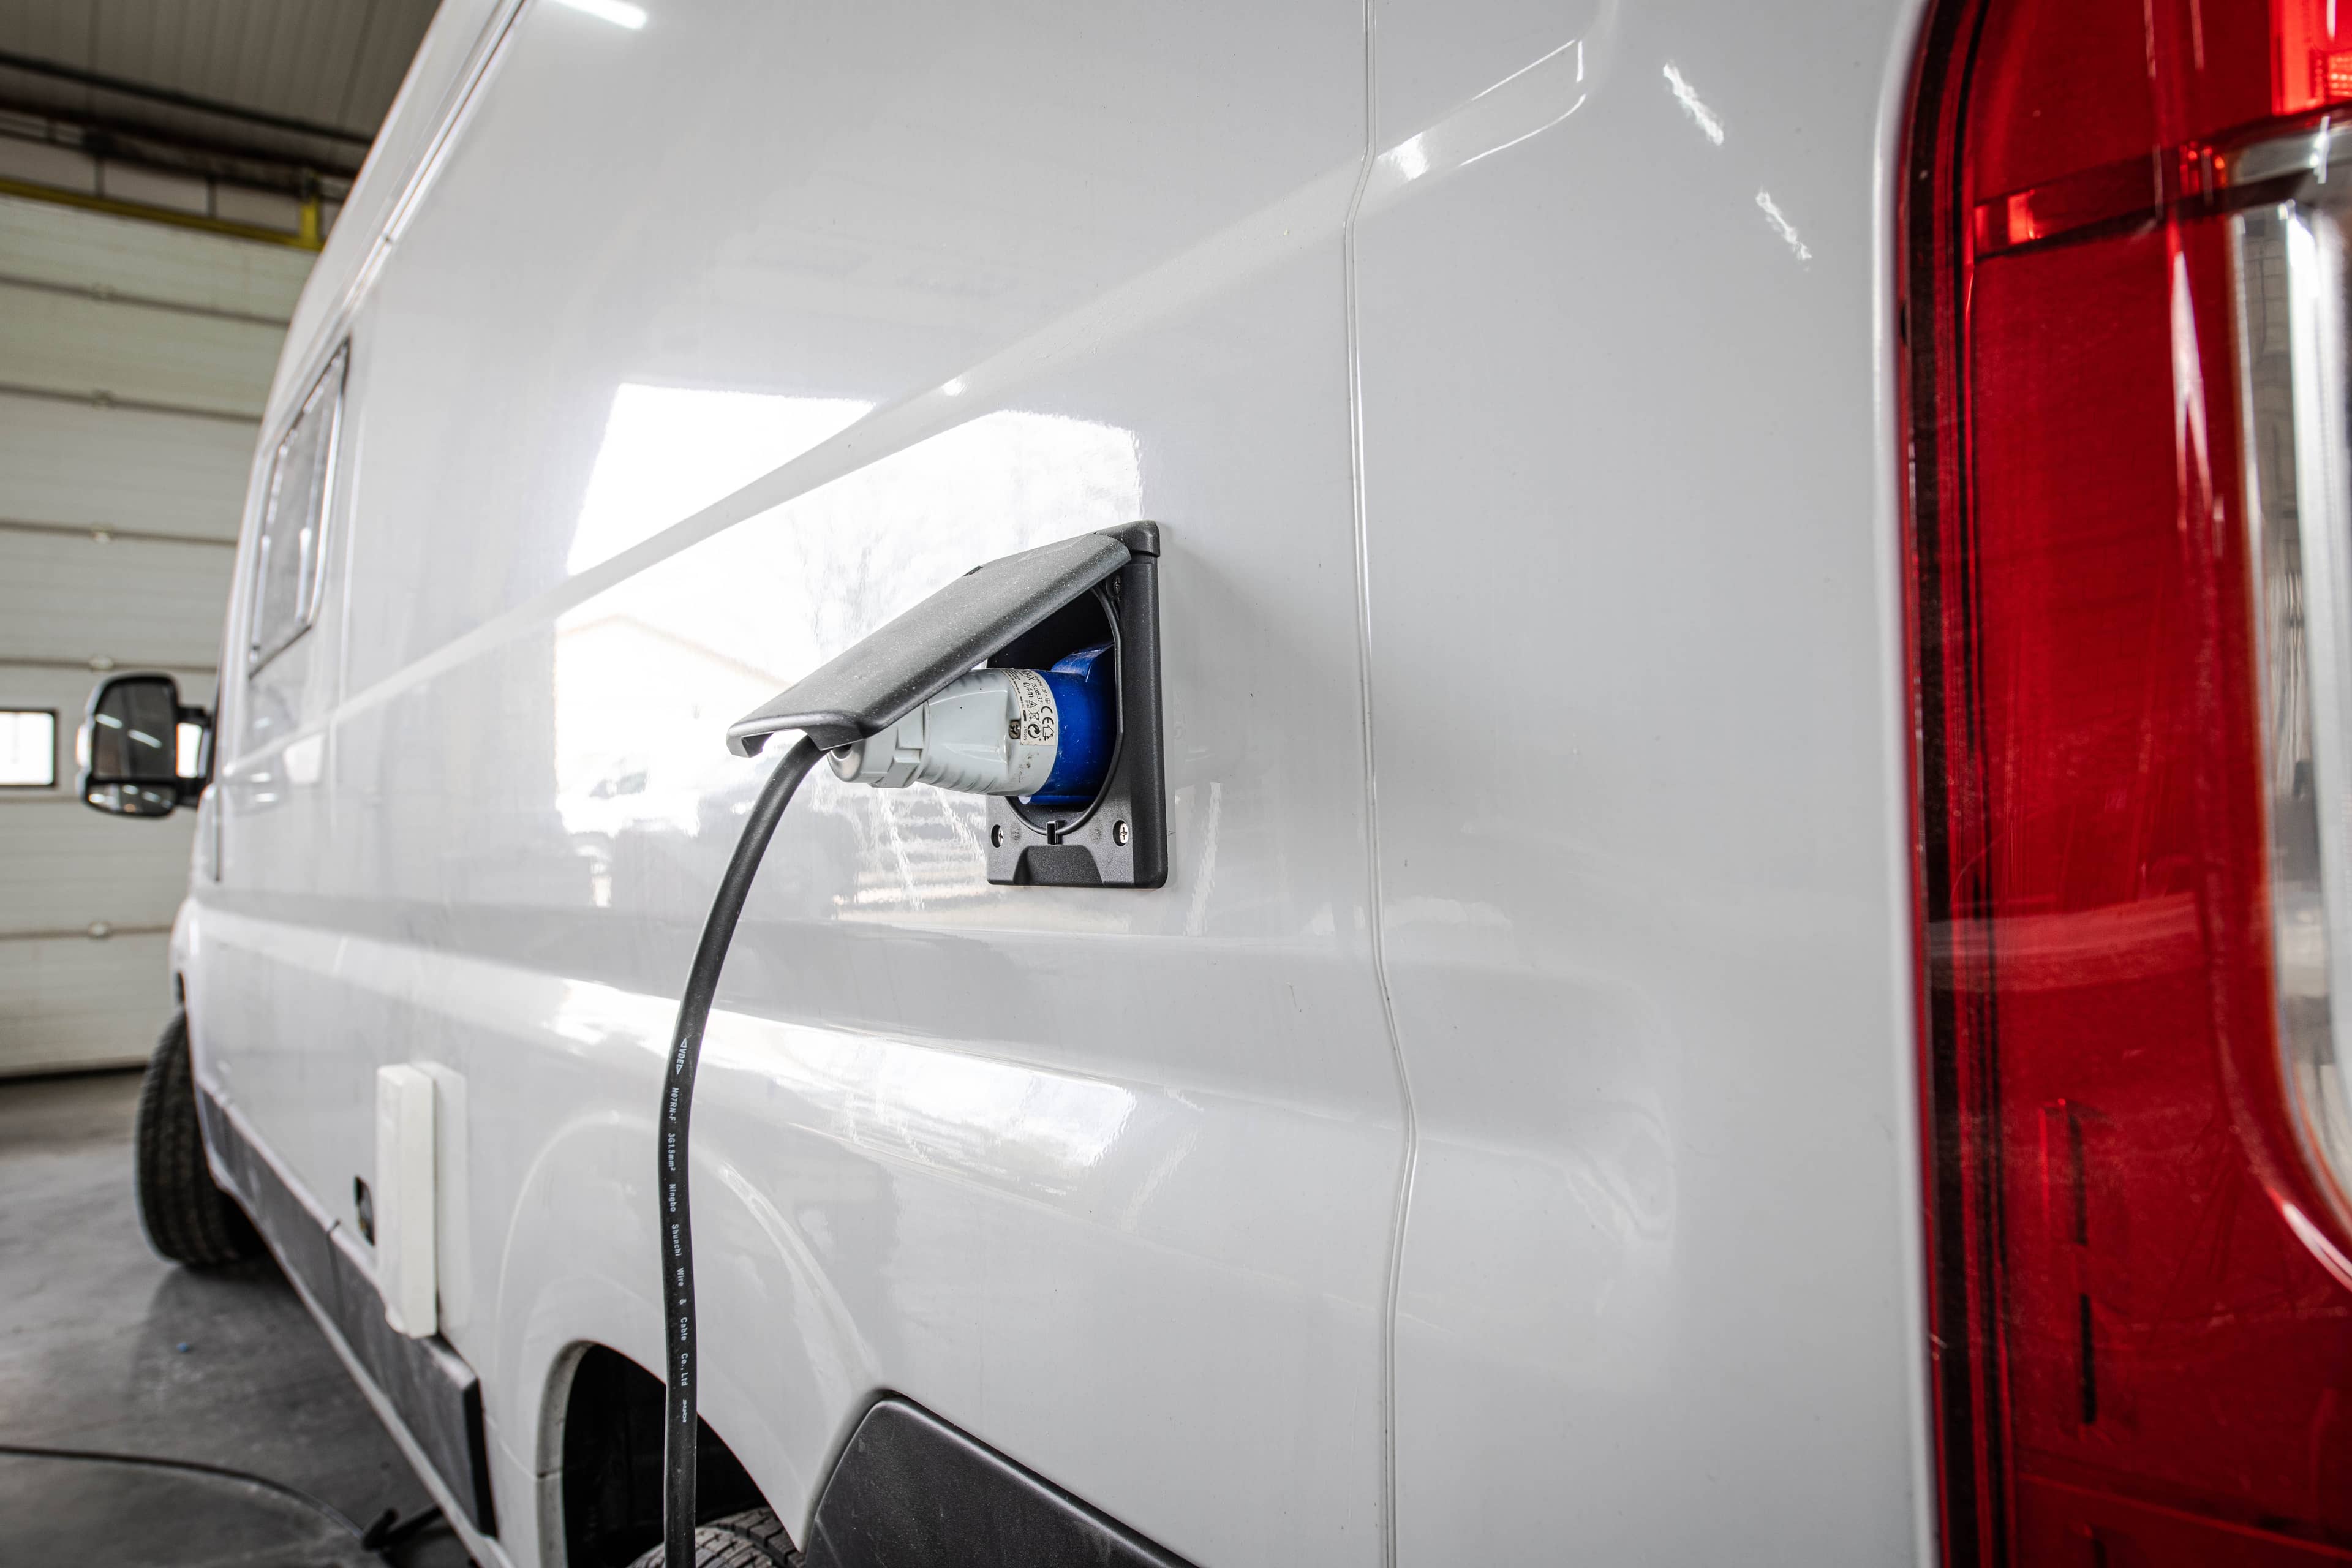
Beril Berkem • 16 June 2026
RV Shore Power: A beginner's guide
Understand the essence of having multiple power sources for your RV's electrical system and learn how to add shore power to yours.Need advice? Our highly trained dealers are happy to help with questions, small or large.
Find a dealer near you
Check our support resources or contact your original dealer for dedicated support, repairs or warranty requests.
Support
Read more about our industry-leading 5-year standard warranty and global repair service.
Warranty


©Victron Energy 2026