Where to buy
Need advice? Our highly trained dealers are happy to help with questions, small or large.
Find a dealer near you
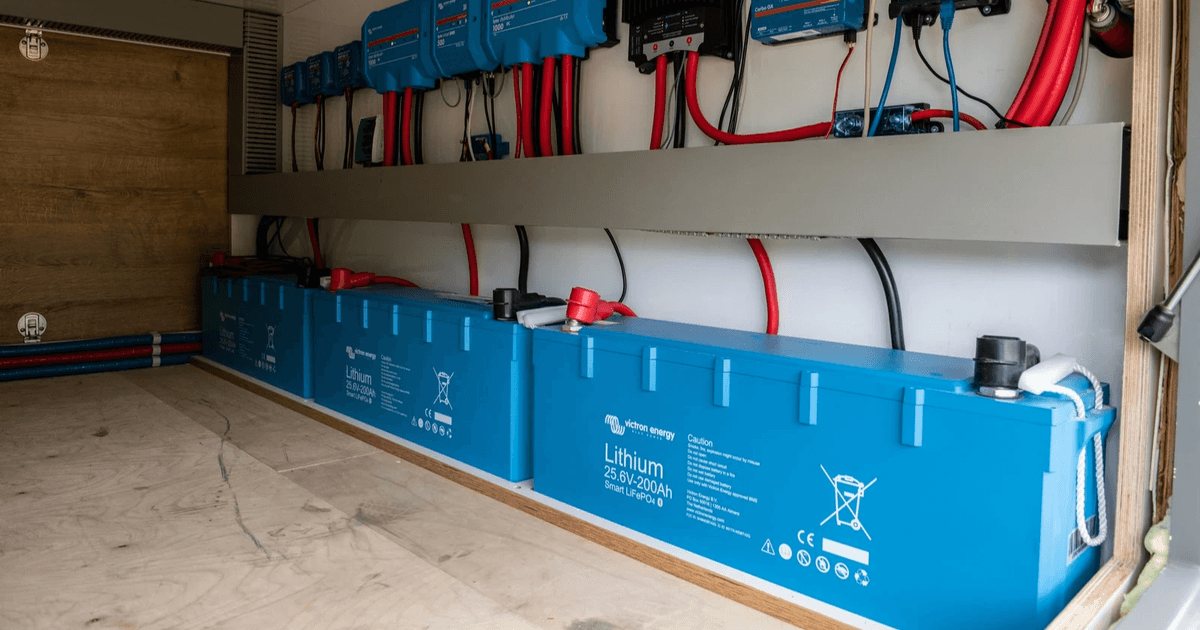
How to size an RV battery bank
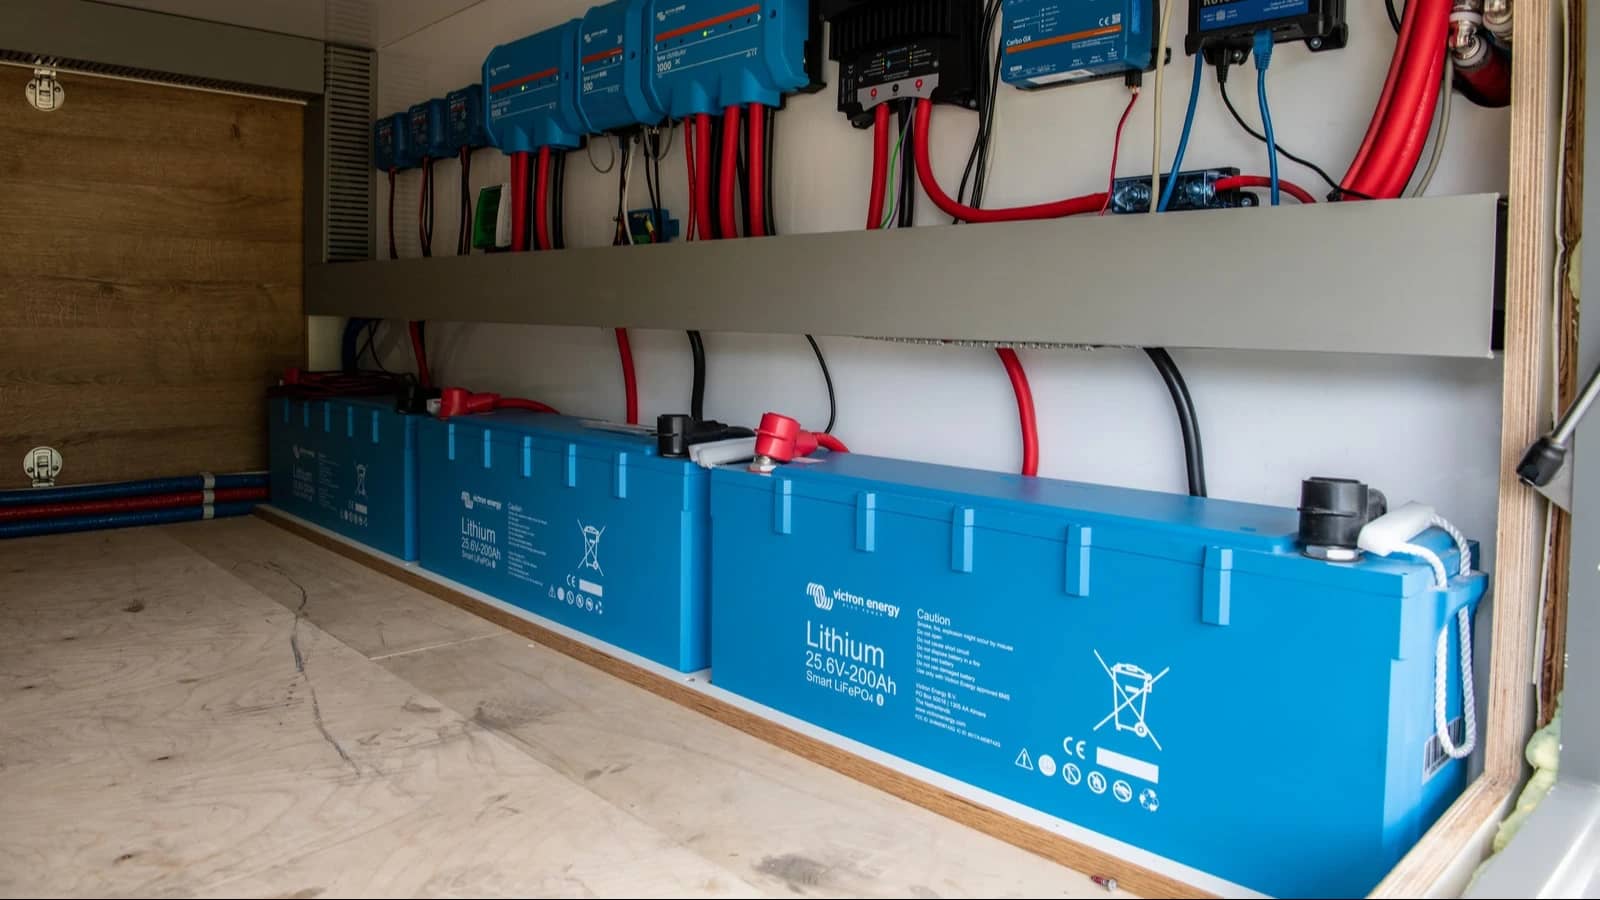
What size battery you install in your travel trailer or RV depends on your daily electricity usage and time you want to spend off-grid. Proper RV battery sizing ensures you have enough stored energy to power your systems without running out of electricity. An RV battery bank is the core of your RV electrical system, powering all your house devices and appliances like lighting, fans, fridges, heaters, and water pumps. When paired with an inverter or inverter/charger, it can also power standard household mains (120/230V) appliances whenever you're not connected to shore power. An undersized battery bank limits your time off-grid, while an oversized system adds unnecessary cost, weight, and space. Choosing the right size gives you the best balance of performance, efficiency, and value.
By the end of this guide, you'll know how to work out your power requirements, estimate your daily energy consumption, and calculate an RV battery size that matches your use and travel style.

Calculating your RV battery size starts with an accurate, realistic estimation of your daily electricity usage. Make a list of all the electrical devices and appliances in your RV, including:
Even wireless devices which you periodically charge, like Bluetooth speakers and drones, must be factored in.
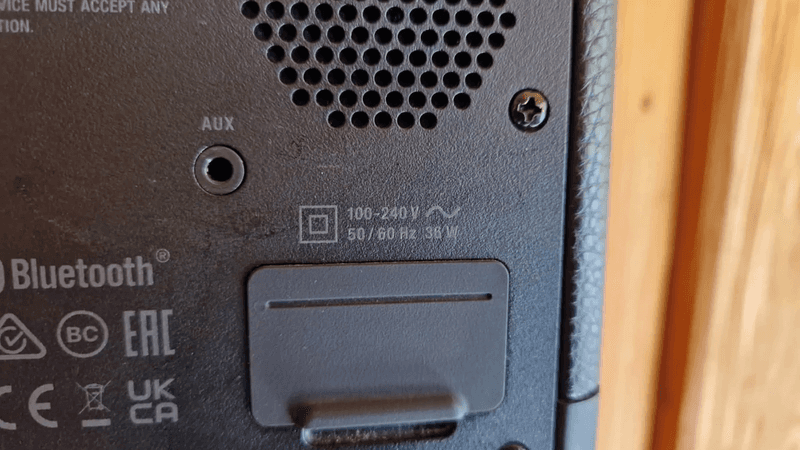
Once you have your list of devices, check the power rating in watts (W). Most appliances have the power rating printed at the rear or underside, and device chargers will display the power rating on the plug. The power rating of AC devices must take into account inverter efficiency, found in the inverter datasheet. Inverter efficiency is a measure of the power that’s lost in the conversion from DC to AC, and effectively increases the power rating of an AC device. To keep things simple, add 15% to the power rating of all AC devices if your inverter capacity is smaller than 1,000W, and add 10% if your inverter capacity is larger than 1,000W.
Once you have the power rating of all your devices in watts, establish the number of hours you’ll use each appliance each day. Note that whilst fridges are plugged in all the time, the compressor only actually runs for about half the time they’re plugged in. We therefore assume that a fridge is only actually drawing power for about 12 hours a day. Some devices are not charged or used every day:
Calculating daily usage for devices not used or charged every day
Daily run time = number of hours running/charging ÷ days between use/charge
For an example device that takes 2 hours to charge but is only charged every 3 days:
Daily run time = 2 ÷ 3
Daily run time = 1.5 hours
Once you have your list of devices, their power rating in watts, and their daily run time in hours, simply multiply these numbers together to arrive at the device’s power usage over time, stated in watt-hours (Wh). Add up all of these watt-hour figures to get your total daily electricity usage.
Example daily electricity usage list
Leisure battery voltage determines the voltage of your electrical system as a whole. Most base RV vehicles’ on-board electronics run on 12V DC electricity, and matching your leisure batteries to this voltage avoids needing to convert between voltages. However, larger base vehicles like trucks might use 24V, and a 24V or 48V system might make sense in other cases:
For more information on choosing between 12V, 24V, and 48V, see section 3.2 (‘Battery Voltage’) in our inverter/charger help-me-choose guide.
Your chosen battery voltage is used to determine the battery size for your RV. Leisure battery rated capacity is quoted in amp-hours (Ah) rather than Wh. We thus need to convert our calculated target rated capacity from Wh to Ah, which we do by dividing the capacity in Wh by the voltage:
Converting from watt-hours to amp-hours based on battery voltage
The next step in calculating RV battery size is to factor in off-grid, no-charge days. This is the number of days you’ll go between battery charges. If you’ll be staying at campsites every other night and recharging your batteries via a shore power connection, your number of off-grid days is only 1. If you’ll be driving every day and charging via a DC-DC charger, we can also treat this as one off-grid day. If you’ll be doing a lot of wild camping (boondocking or dry camping), your solar panels are the primary charging source. How many hours of solar charging will you get each day? Weather and time of year affect this enormously.

When choosing an RV battery for dry camping where solar panels are the primary charging source, we recommend factoring in a minimum of two off-grid days. For long trips, full-time van living, boondocking in areas with frequent bad weather, and winter usage, we recommend factoring in three off-grid days.
We will continue the example above and say that we want to be off-grid for three days:
Calculating required electricity storage capacity for off-grid days
NOTE: Boondocking typically requires a larger battery bank than campground camping because you can't rely on shore power. A properly sized battery and solar system gives you the freedom to camp farther off-grid and enjoy your adventures without depending on campground electrical hookups and without having to run the engine to top up via the DC-DC charger.
Off-grid usage is also a major factor when deciding solar panel size; learn how these calculations overlap in our guide on sizing an RV solar system.
Usable capacity is a measure of how much of a battery's rated capacity can actually be used to power your electrical system. No leisure battery should be discharged until it’s completely empty, but usable capacity differs with battery chemistry. Lithium leisure batteries can be regularly discharged to 70-80% of their rated capacity, whilst lead-acid batteries should only be discharged by 50%. As a result, for a target usable capacity, a lead-acid battery bank must be significantly larger than a lithium battery bank with the same rated capacity.
If you’re buying lead-acid batteries, you’ll need a battery bank whose rated capacity is twice your calculated off-grid requirement. If you’re buying lithium, you’ll need a battery bank with a rated capacity of 125% your off-grid requirement.
Calculating required battery bank rated capacity based on battery usable capacity
For a more complete understanding of the differences between battery chemistries, take a look at our guide to upgrading from lead-acid to lithium leisure batteries.
No. Lead-acid and lithium batteries should never be connected together in the same battery bank. Even when using the same battery chemistry, it's best to use batteries of the same brand, model, age, and capacity.
That concludes our process for deciding what size battery you need for your travel trailer or RV. Note that with a higher required usable capacity, you’re likely to need to make a battery bank out of multiple individual batteries. As we mentioned earlier, it’s important that your battery bank is composed of individual batteries of the same model, age, and capacity. These batteries will need to be wired together in series in order to add their capacities together; wiring them in parallel will produce a bank with the same capacity and a higher voltage. A battery management system is a good addition to any battery bank; it balances the individual batteries in a multi-battery bank, whilst also protecting them from overcharging and over-discharging.
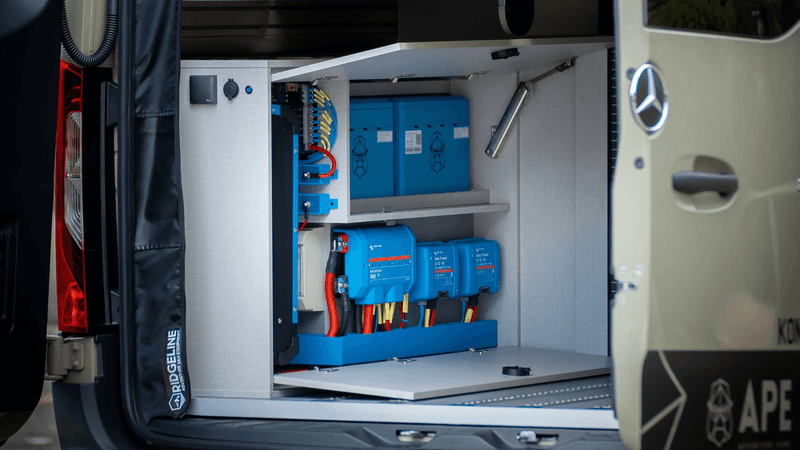
Taking the time to properly size your RV battery bank ensures you’ll have the power you need without overspending or adding too much weight. Make sure that your daily power usage calculation is accurate and not optimistic; if in doubt, round up. The same goes for required off-grid days.
To learn more about leisure batteries and the theory behind RV battery size calculations, take a look at our explainer on how lead-acid batteries work, the different lead-acid battery types, and upgrading from lead-acid to lithium. Our deep-dive on solar system sizing goes into the nuances of off-grid days in more detail, and our overview of the components in an RV electrical system places batteries in a wider context.
John Rushworth • 20 March 2019
Bigger batteries: More Ah needed?
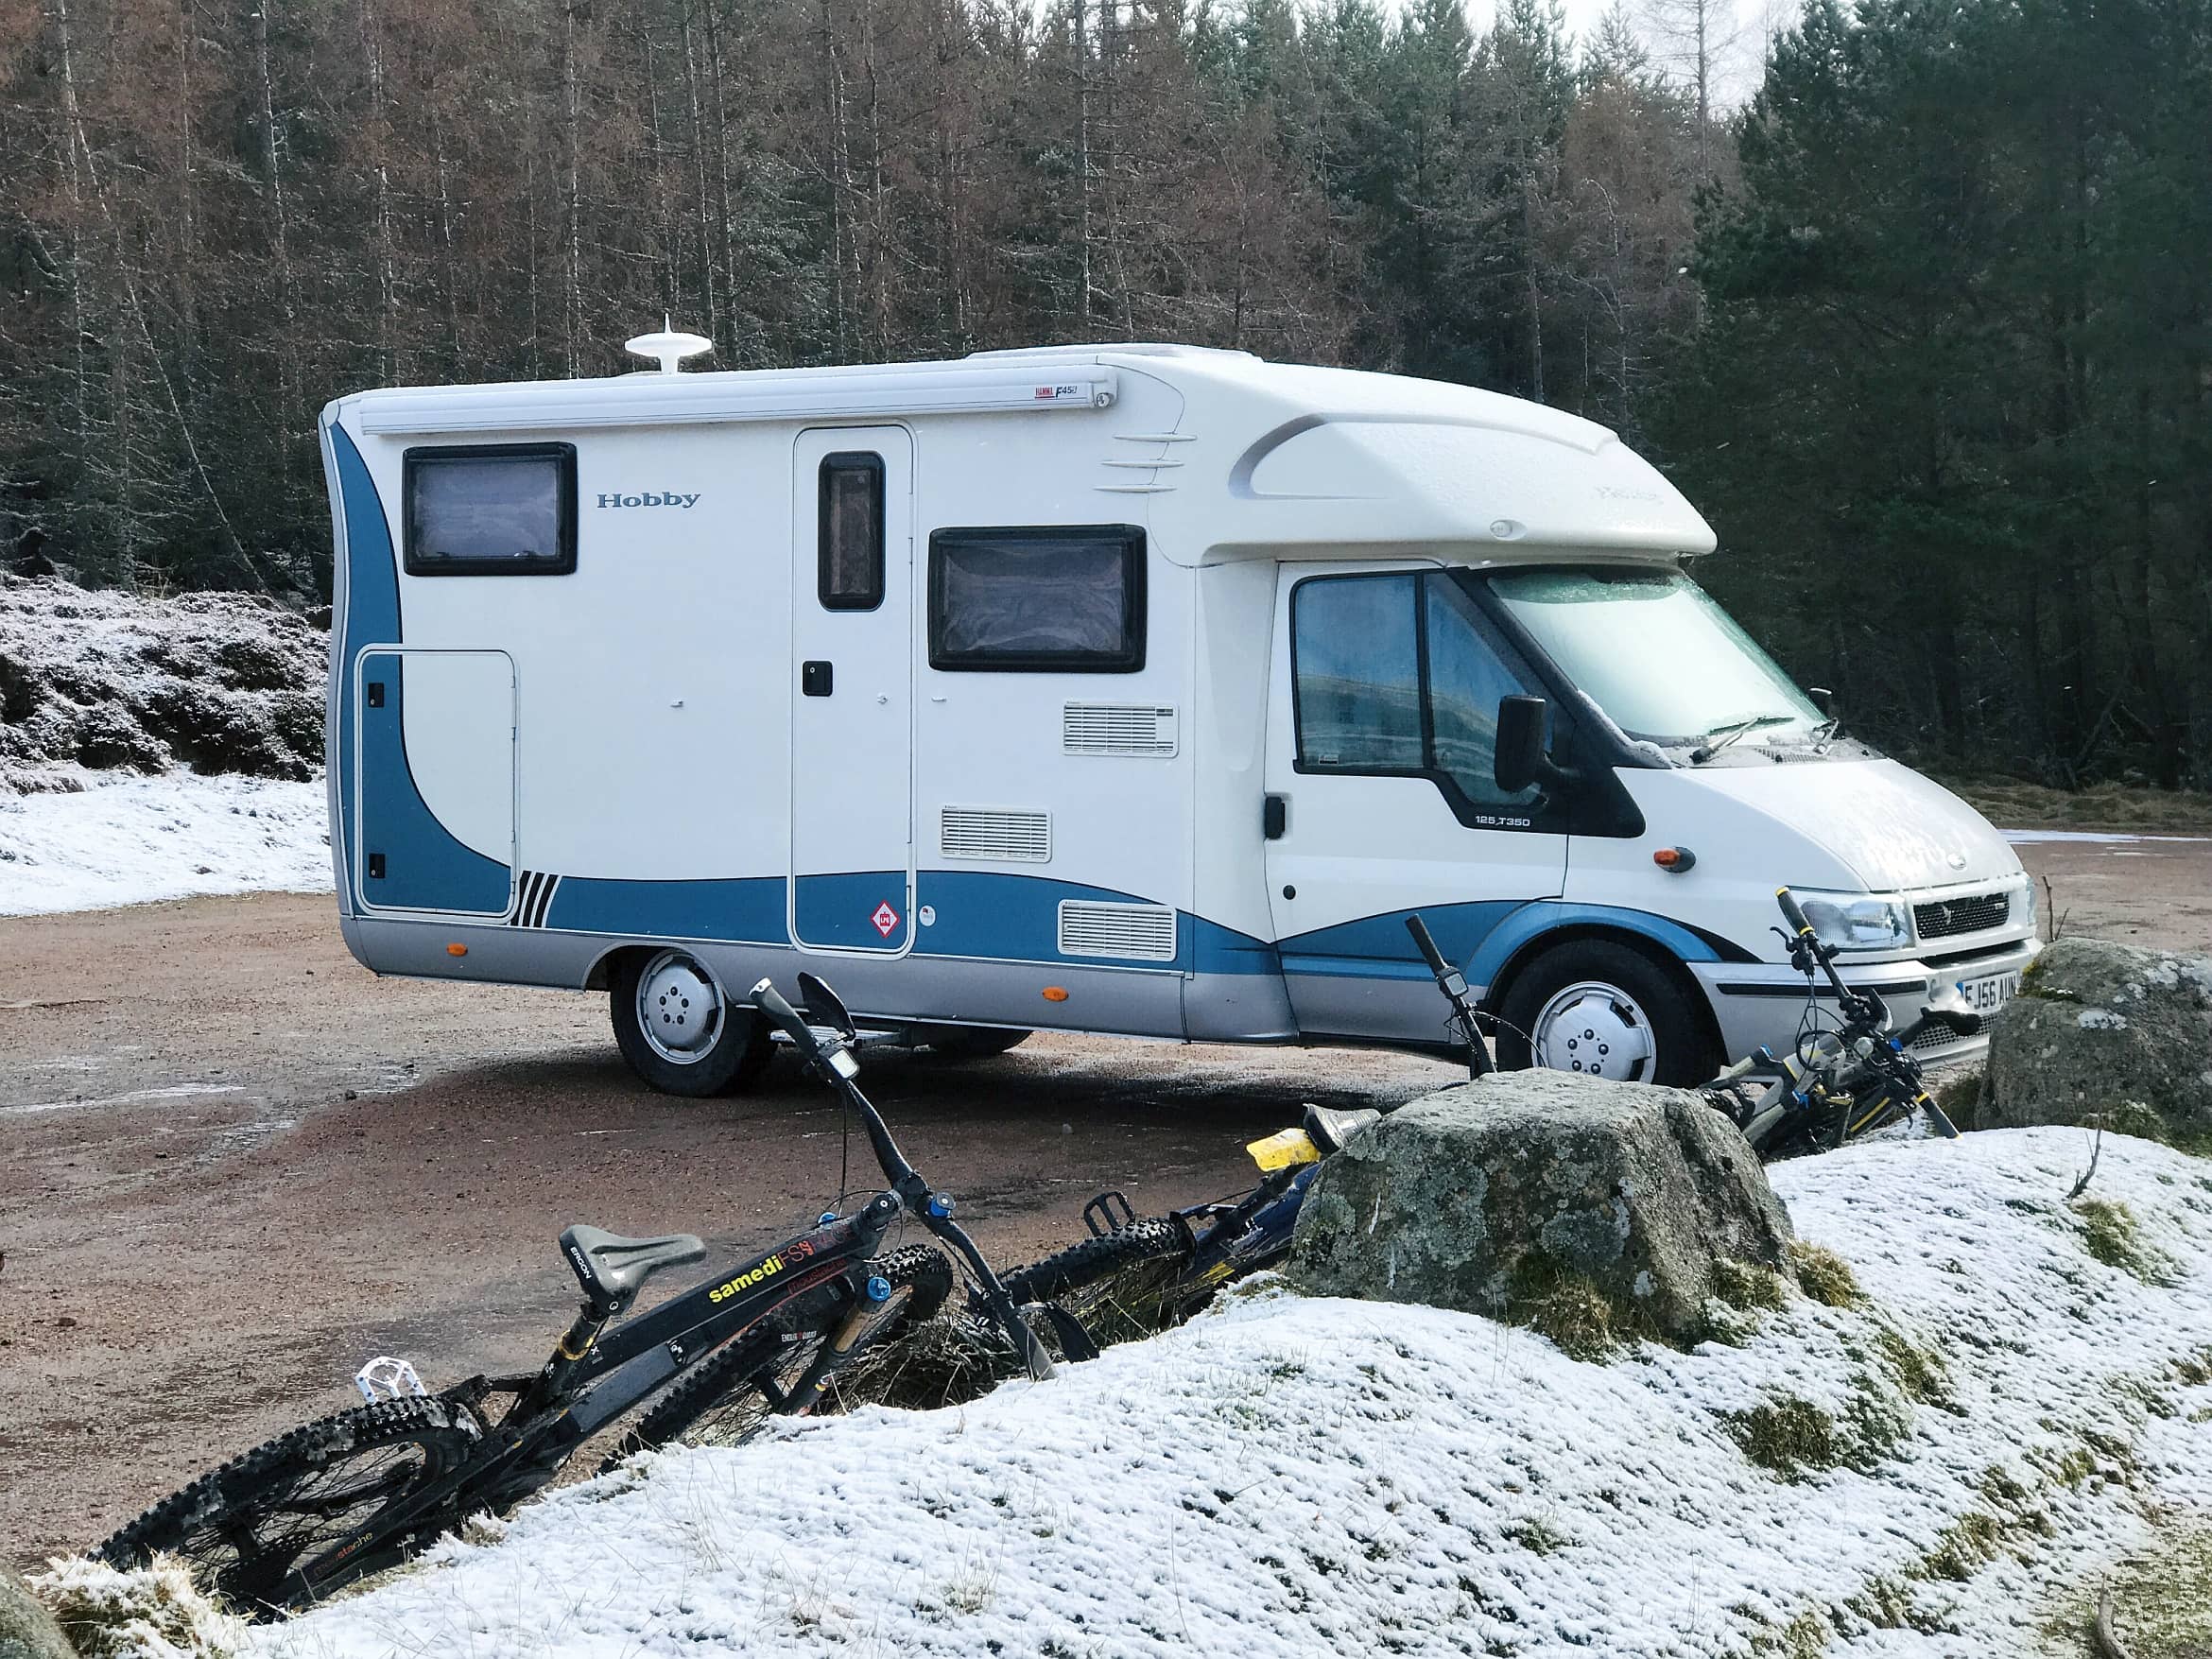
It’s a complaint I often hear – ‘My leisure batteries aren’t big enough and they keep going flat quickly.’ This blog is primarily aimed at motorhome, RV, campervan, caravan, commercial vans, boat and yacht owners – concerning the issue of more battery capacity needed, with different ways to achieve that. When running out of amps many assume their leisure batteries have failed, yet often this is not the case. It’s more how, where, when and what the batteries are used for. Things like cold temperatures, high loads and deep discharges affect battery capacity (Ah) and life. And certainly these days we often place greater demands on leisure batteries than the original system design may have intended. This presents a dilemma. Running out of Amps A typical small yacht, that was built some years ago, might have a 90Ah leisure battery and a 80Ah starter battery on a split charging system. The battery boxes, cabling, charger and alternator will all have been sized accordingly. But these days you are running more equipment, often at higher loads and need therefore more battery capacity – so you don’t have to start the diesel engine to inefficiently charge with the alternator, when away from shore power. Maybe you start off by adding a small solar panel, but even that is not enough. Now you are faced with redesigning the system to get more capacity. Costly in both time and effort. The same goes for motorhomes. For instance, my recently acquired 12 year old Hobby T600 motorhome (shown in the headline image) has 1 x Sonneschein gel leisure battery 78Ah (C20), 65Ah (C5) and a Duracell 74Ah starter battery. That gel leisure might be fine for folk with small 12V needs that spend 90% of their time on hookup, use gas for cooking, heating and 230V for the fridge – and rarely go off-grid. But as I soon discovered, switching on a number of 10W lights and running the gas heating fan overnight – it quickly depleted the leisure battery whilst away from shore power. No surprise there you might say, but once again you find yourself pondering more power and energy from the leisure battery or batteries. In the meantime updating to all LED lighting at 1/10th of the power consumption has helped, plus changing to a Victron MPPT from the old PWM one for my 100Wp solar panel means it performs more efficiently and improves solar harvest. The MPPT in the top right of the photo below is networked using a Smart Battery Sense , as the ambient temperature of the MPPT compared to the leisure battery temperature can be as much as 10 ° C difference. Doing this ensures temperature and voltage compensated charging; a factor that also needs to be taken into account for cold weather charging . Upgrading to LEDs and a MPPT Solar Charge Controller The above mods though didn’t fully solve the problem – as I wanted to charge my electric bicycle off-grid, plus my friends’ bikes and make ‘electric’ toast, use an electric toasted sandwich maker, boil a small 600W kettle, plus run my laptop and other device chargers from AC power. That meant an inverter. Not something everyone requires, but having AC and DC electricity can be very useful. The solution – just get bigger batteries? A larger Ah battery solution might sound obvious but once you start looking into it you discover you need extra space, the current battery box or boxes are too small, weight might be an issue, the cables are too thin to take higher current, the charger is no longer big enough, plus where to locate an inverter if needed. If that’s not a project you can do yourself there will be an expensive hourly rate to get a technician to upgrade your system. There has to be a simpler way. Fortunately most modern boats and vehicles, to get more kWh and Ah, generally have larger and often paralleled batteries. Personally I prefer a large monobloc battery (say 220Ah) or smaller ones in series to give the equivalent Wh of energy, as that is considered safer than parallel. Need more batteries for a new build, then series the largest monoblocs you can get and run at say 24V or 48V with DC to DC step-down to 12V. That assumes you have a suitable alternator of course. Regardless, it’s easy to see that getting more energy and power with an upgrade is not as easy or as inexpensive as it might first appear, when compared to designing a new build. Insight tip: Energy vs Power if those terms and their differences are not familiar to you. Compared to my older vehicle my friend’s nearly new motorhome has both more energy and power available, with 3 x 95Ah (C20), 85Ah (C5) Varta AGM batteries giving a total of 285Ah @12V at the 20 hour C rate, where C refers to the capacity and the 20 or 5 is the number of hours to deplete the battery to 10.8V (flat). Faster discharges shrink the Ah – as you can see by that 5 hour Ah rating which is related to the load. Note those Ah capacities for those C rates are when a battery is used on its own, not when paralleled as running in parallel with more Ah improves any reduction in Ah due to higher than standard 0.05C loads. These ratings referred to are all at a temperature of 25°C, which is the standard rating temperature. Below that temperature, battery Ah decreases further as it does with age. So, what starts out as 285Ah (of which 50% is generally accepted to be the economic discharge usage) is now 285/2 x a higher load than the standard rating of C20 (or 0.05 x Ah) of say 0.1C (28.5A discharge) at 25°C (an inverter type load), which then shrinks the Ah by a factor of around 0.84 as shown below – 285Ah reduced to 240Ah. Temperatures of lower than 25°C and age will shrink that Ah even further. I have assumed a Peukert exponent of 1.25 for this 285Ah lead acid AGM battery bank. The Peukert Calculator used in the screenshot above is a spreadsheet in Microsoft Excel format that allows you to enter the battery capacity and Peukert’s exponent. It then selects various discharge rates, calculates run times (note that the times are in decimal hours i.e. 1.5 hours is 1 1/2 hours = 1 hr 30 minutes), Peukert corrected amps and total amp hours available at the different discharge rates. It also incorporates a graph of discharge current against available amp hours. The extent of the effect may surprise you. The calculator, written by Chris Gibson, is the copyright of SmartGauge Electronics and is available here . Now let’s put in an ageing factor of 0.8 (so you still get what you need even when the batteries get older) and suddenly the available Ah is 285 x 0.5 x 0.84 x 0.8 = 95.76Ah or 12V x 95.76Ah giving 1.15kWh of useable energy compared to a stored C20 energy of 3.42kWh 25°C. No wonder folk think their batteries need replacing or they need more Ah! The above applies to lead-acid battery technology, lithium is far more forgiving with a Peukert of around 1.05. You can read about LiFePO4 vs AGM technology in a recent blog I did concerning Victron Energy’s new SuperPack batteries . Choices & a different approach Contemplating getting more useable Wh for my motorhome I started looking at upgrading my standard system, but the leisure battery is under the passenger seat with restricted space, the wires run under the floor and inbetween bulkheads, plus I needed a bigger charger, not to mention an inverter to charge my electric mountain bike. Maybe the alternator would need to be upgraded too. Anyhow hopefully you get my point – it was simply not realistic to modify the standard system either in terms of cost or effort, plus the leisure battery happened to be brand new. My solution was to create a separate, standalone, portable ‘Powerpack’ – similar to a powerbank for mobile phones. It was something I could put together easily in the comfort of my workshop (living room in fact). Admittedly I went somewhat over the top – but that is as much to illustrate what can be achieved and how space and weight criteria can force a choice. Ideally I prefer Lithium-iron-phosphate (LiFePO4 or LFP) to our Lithium-Ion HE Battery and Lynx Ion BMS, as LFPs have a higher cycle life and the HE BMS is quite sizeable taking up extra space. However in this particular case due to the actual dimensions of the space available and weight considerations I had to use the HE NMC type. Fortunately my inverter loads are low too, so the HE type could accommodate them, whereas on my boat LFPs are better due to that chemistry’s higher continuous discharge rates. In fact were weight and size not an issue then AGM’s would have been okay too, as of course would the all in one design of the Lithium SuperPack range – having no need of an external BMS taking up extra space. You’ll see what I mean in the table later in this blog. Your requirements might be more modest too in terms of battery type, power and size – so besides my own Powerpack build I’ll include other versions in a later blog, which will show how to size an inverter for charging electric bicycles off-grid as an example. For now I’ll leave you with some before and after photos of my solution, which simply goes inline with the hook-up shore power prior to the RCD/Consumer unit in the van. Unplug two male/female 16A commando type plugs/sockets and the original system is back to normal and you have a Powerpack for use elsewhere. Using this system my standard leisure battery is always full off-grid, either charged from my Powerpack or solar, plus there’s increased energy and power available for the needs mentioned earlier. The planning stage Pretty lights and LED momentary start switch. USB GPS to set a Geofence when parked. Testing – electric bicycle battery charging Phew, got the measurements right… 16A Commando plug/socket connections top right, allows simple inline connection from the back of the shore hookup and prior to the RCD/consumer unit. And just enough room for the electric MTB in the motorhome garage… Lead vs Lithium Having recently written about Victron’s new LiFePO4 SuperPack range along with a comparison to AGM, now seems a good time to compare lead vs different lithium types – so you can see why in this case weight, dimensions and energy density were more important than cycle life and better (higher) discharge C rates (power). 60Ah 12.8V LiFePO4 SuperPack 90Ah 12V Lead AGM 100Ah 25.2V HE NMC 200Ah 25.6V LFP- Smart Weight 9.5kg 27kg 15.7kg 56kg Size (mm) (l x w x h) 229 x 138 x 213 350 x 167 x 183 362 x 193 x 214 317 x 631 x 208 Useable energy @ 25°C 614Wh 540Wh 2,016Wh 4,096Wh Cycle life 2,500 cycles 600 cycles 2,000 cycles 2,500 cycles Cost x 2.5 (approx) x 1 x 2.5 (approx) x 2.5 (approx) Notes for the table above: Useable energy and cycle life are based on 80% depth of discharge for LiFePO4 and 50% for AGM, these being considered the most economic use of those battery types. The NMC lithium can be discharged to 100% in ‘Performance mode’ albeit at the cost of cycle life, giving more useable kWh than the 80% DOD shown in the datasheet and in the table above. 75% is considered the ‘Default mode’, 100% is ‘Performance mode’, all of which can be adjusted by your dealer with the Lynx Ion BMS tool. Higher loads with lead will further reduce available Wh ( Peukert’s Law ) when compared to Li-ion. Capacity is also reduced for all types by temperatures below their 25°C temperature rating ( see the respective batteries and datasheets ) Conclusion With no modifications to my standard motorhome system, other than the inline connection, this drop-in modular build has proved a great way to get more Ah. Lithium batteries are not essential though, subject to your needs, but in my case using NMC Lithiums as opposed to my preference for LiFePO4 was necessary – due to the required location of the pack and weight. Using a lead based system was out of the question as it would have loaded the back axle way too much and there would simply not have been the space to accommodate all that dead lead, let alone my eMTB. Full specifications of my 200 Ah NMC build, along with other ‘Powerpack’ options and how to size an inverter for a required load, such as electric bicycle charging – coming in another Victron Energy blog soon… If you have any comments about my ‘Powerpack’ build I’d be pleased to hear from you in Disqus below. For technical questions please ask me or indeed others on the Victron Community site. John Rushworth
Beril Berkem • 04 May 2026
How to size a solar system for your RV
Learn how to size a solar system for your RV. Estimate your energy needs and choose the right components to power your adventures.
Chris Wallace-Tarry • 03 September 2026
Understanding the Components of Your RV Electrical System
What components make up an RV electrical system? Dive into a structured overview of how to build a complete system, piece by piece.Need advice? Our highly trained dealers are happy to help with questions, small or large.
Find a dealer near you
Check our support resources or contact your original dealer for dedicated support, repairs or warranty requests.
Support
Read more about our industry-leading 5-year standard warranty and global repair service.
Warranty


©Victron Energy 2026