Mounting
The Blue Smart IP22 Charger range is designed to be wall mounted using the flanges which protrude from either side of the base.
Before mounting, the following aspects should be considered to identify/provide a suitable and safe location:
Install the charger in a location with good natural airflow/ventilation; in case airflow is a restricted, consider adding a cooling fan.
Ensure there is sufficient unobstructed space around the charger; a minimum clearance of 100mm above and below is recommended.
Install the charger on a non-flammable substrate and ensure there are no heat-sensitive items in the immediate vicinity; it is normal for the charger to become hot during operation.
Install the charger in a location where it is protected from environmental conditions such as water, high moisture and dust, and also located well away from any flammable liquids or gasses.
Do not install or place/operate the charger on top of the battery, directly above the battery, or in a sealed compartment with the battery; batteries can emit explosive gasses.
Do not cover or place any other items on top of the charger.
Mount the Blue Smart IP22 Charger vertically with terminals facing down; secure using the 4 mounting holes/slots on the base.
Use well fitting pan/flange head screws to secure the unit, ensure that the screw thread outer diameter is a clearance fit within the flange holes/slots (~4mm max OD).
To aid installation, it is recommended to 'support' the unit using the 2 lower screws (leave the screw heads ~3mm from the surface) and then install the 2 upper screws, before fully securing all 4 screws.
Take care to not over-tighten the mounting screws (as the mounting flanges are plastic), and to not damage the AC power cable while securing the lower left mounting screw (as the AC power cable is located directly above it).
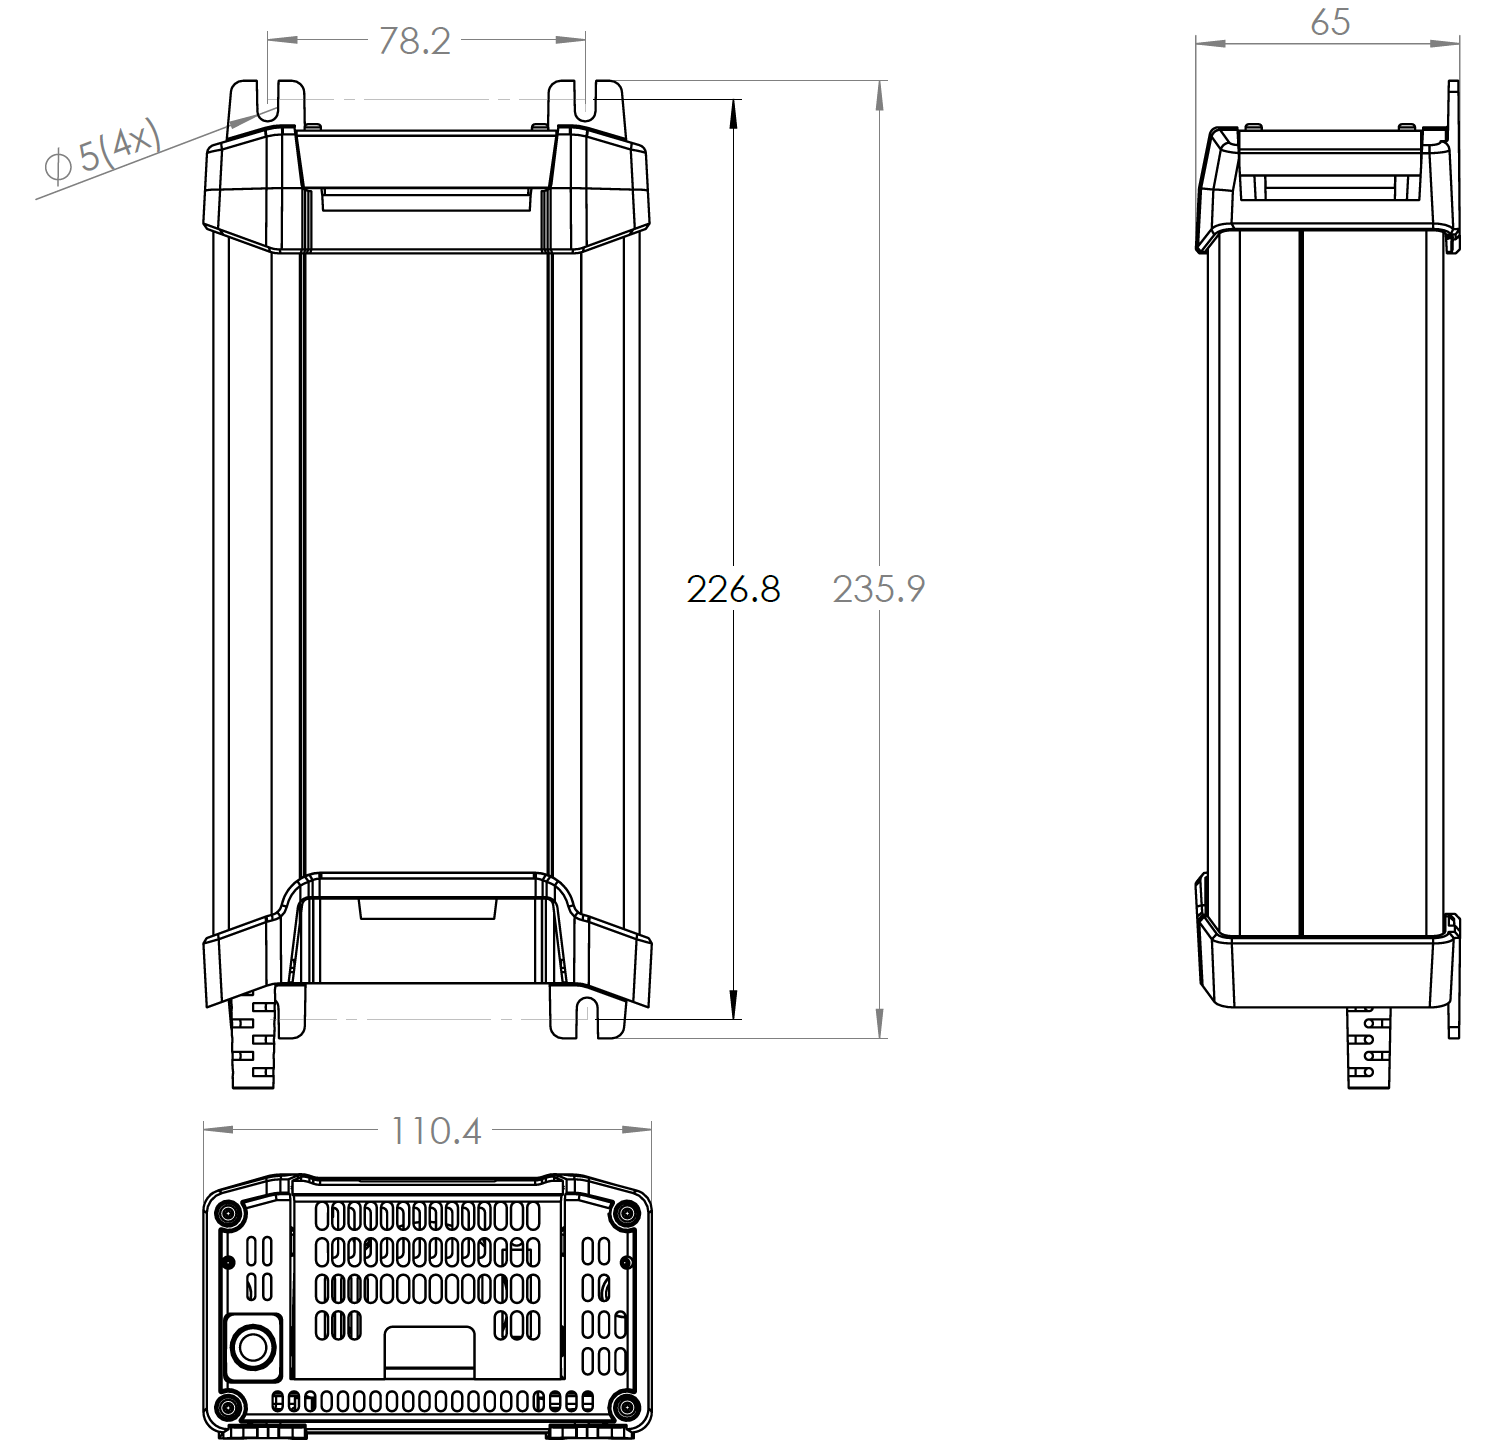
Refer to the drawing below for mounting dimensions: