From time to time we hear of people saying they can’t see the loads on their BMV battery monitor – this is down to incorrect wiring. This new instructional video is an aid to ensure the BMV is wired correctly.
BMV-700 series models
There are 3 model variants within the BMV series range: BMV-700 & BMV-702 (6.5- 95 VDC supply voltage range) and the BMV-700HS (60– 385 VDC supply voltage range). The principal function of the BMV series is to follow and indicate the state-of-charge of a battery. The video below gives clear instructions to ensure the BMV-700 and related models are wired correctly.
For the additional functionality that the BMV-702 provides, namely starter battery or temperature or mid-point voltage monitoring, please see the quick install guide.
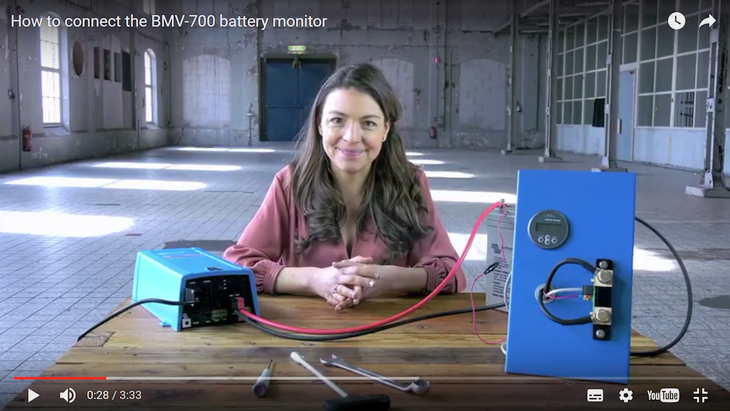
How to connect the BMV-700 battery monitor
Video text transcript
Hello and welcome! In this instructional video I will show you how to connect your BMV-700 battery monitor.
The main function of the BMV is to follow and indicate the state-of-charge of a battery.
To connect the BMV-700 you will need the following tools:
- A terminal screwdriver
- A socket wrench
Inside the box of the BMV you will find:
- A BMV-700
- A Shunt
- A UTP cable
- And a Positive supply cable to power the BMV
You can mount the BMV with or without the square bezel. Please read the quick installation guide to see how to mount the BMV with the bezel.
The mounting ring has 2 sides. With this side you can mount the BMV to a 7 to 18 millimetre thick plate or wall.
With the other side of the ring, you can mount the BMV to a plate or wall with a thickness of 0.5 to 8 millimetres.
Connect the BMV to the shunt with the UTP cable.
Then connect the terminal ring of the positive supply cable to the plus pole of the battery. We will mount it on top of the plus cable.
The other side of this cable goes into the green terminal of the shunt. Use the terminal screwdriver to push down the orange connection and then insert the cable.
The Shunt has 2 poles: one for the battery and one for Load and Charger.
It is important not to mix up these two.
Connect the ‘- Load and Charger’ side of the shunt to all the Load and Chargers in the system.
Connect the negative pole of the battery directly to the ‘- Battery’ side of the shunt. Do not connect anything else to this side of the shunt.
In this way, the shunt will measure all current that is going in and coming out of the battery.
Your BMV is now ready for configuration.
When you start up the BMV for the first time, the scrolling text ‘Battery capacity’ will show up. Press any button to stop scrolling and the factory default value 200 Amp hours will appear in edit mode: the first digit will blink.
Enter the desired value with the + and – buttons.
Press SELECT to set the next digit in the same manner.
Repeat this procedure until the required battery capacity is displayed.
The capacity is automatically stored when the last digit has been set by pressing SELECT. This is indicated with a short beep.
Your BMV-700 is now ready to use!
Thank you for watching this video.
Conclusion
Thanks to Marianka Pranger for organising this and Claire for narrating the video.
If you have any particular instructional videos that you’d like to see made, please leave a comment in Disqus below or email Marianka directly at: mpranger@victronenergy.com
Additional videos in the instructional video series can be found at:
https://www.victronenergy.com/blog/category/instructional-videos/
John Rushworth


