
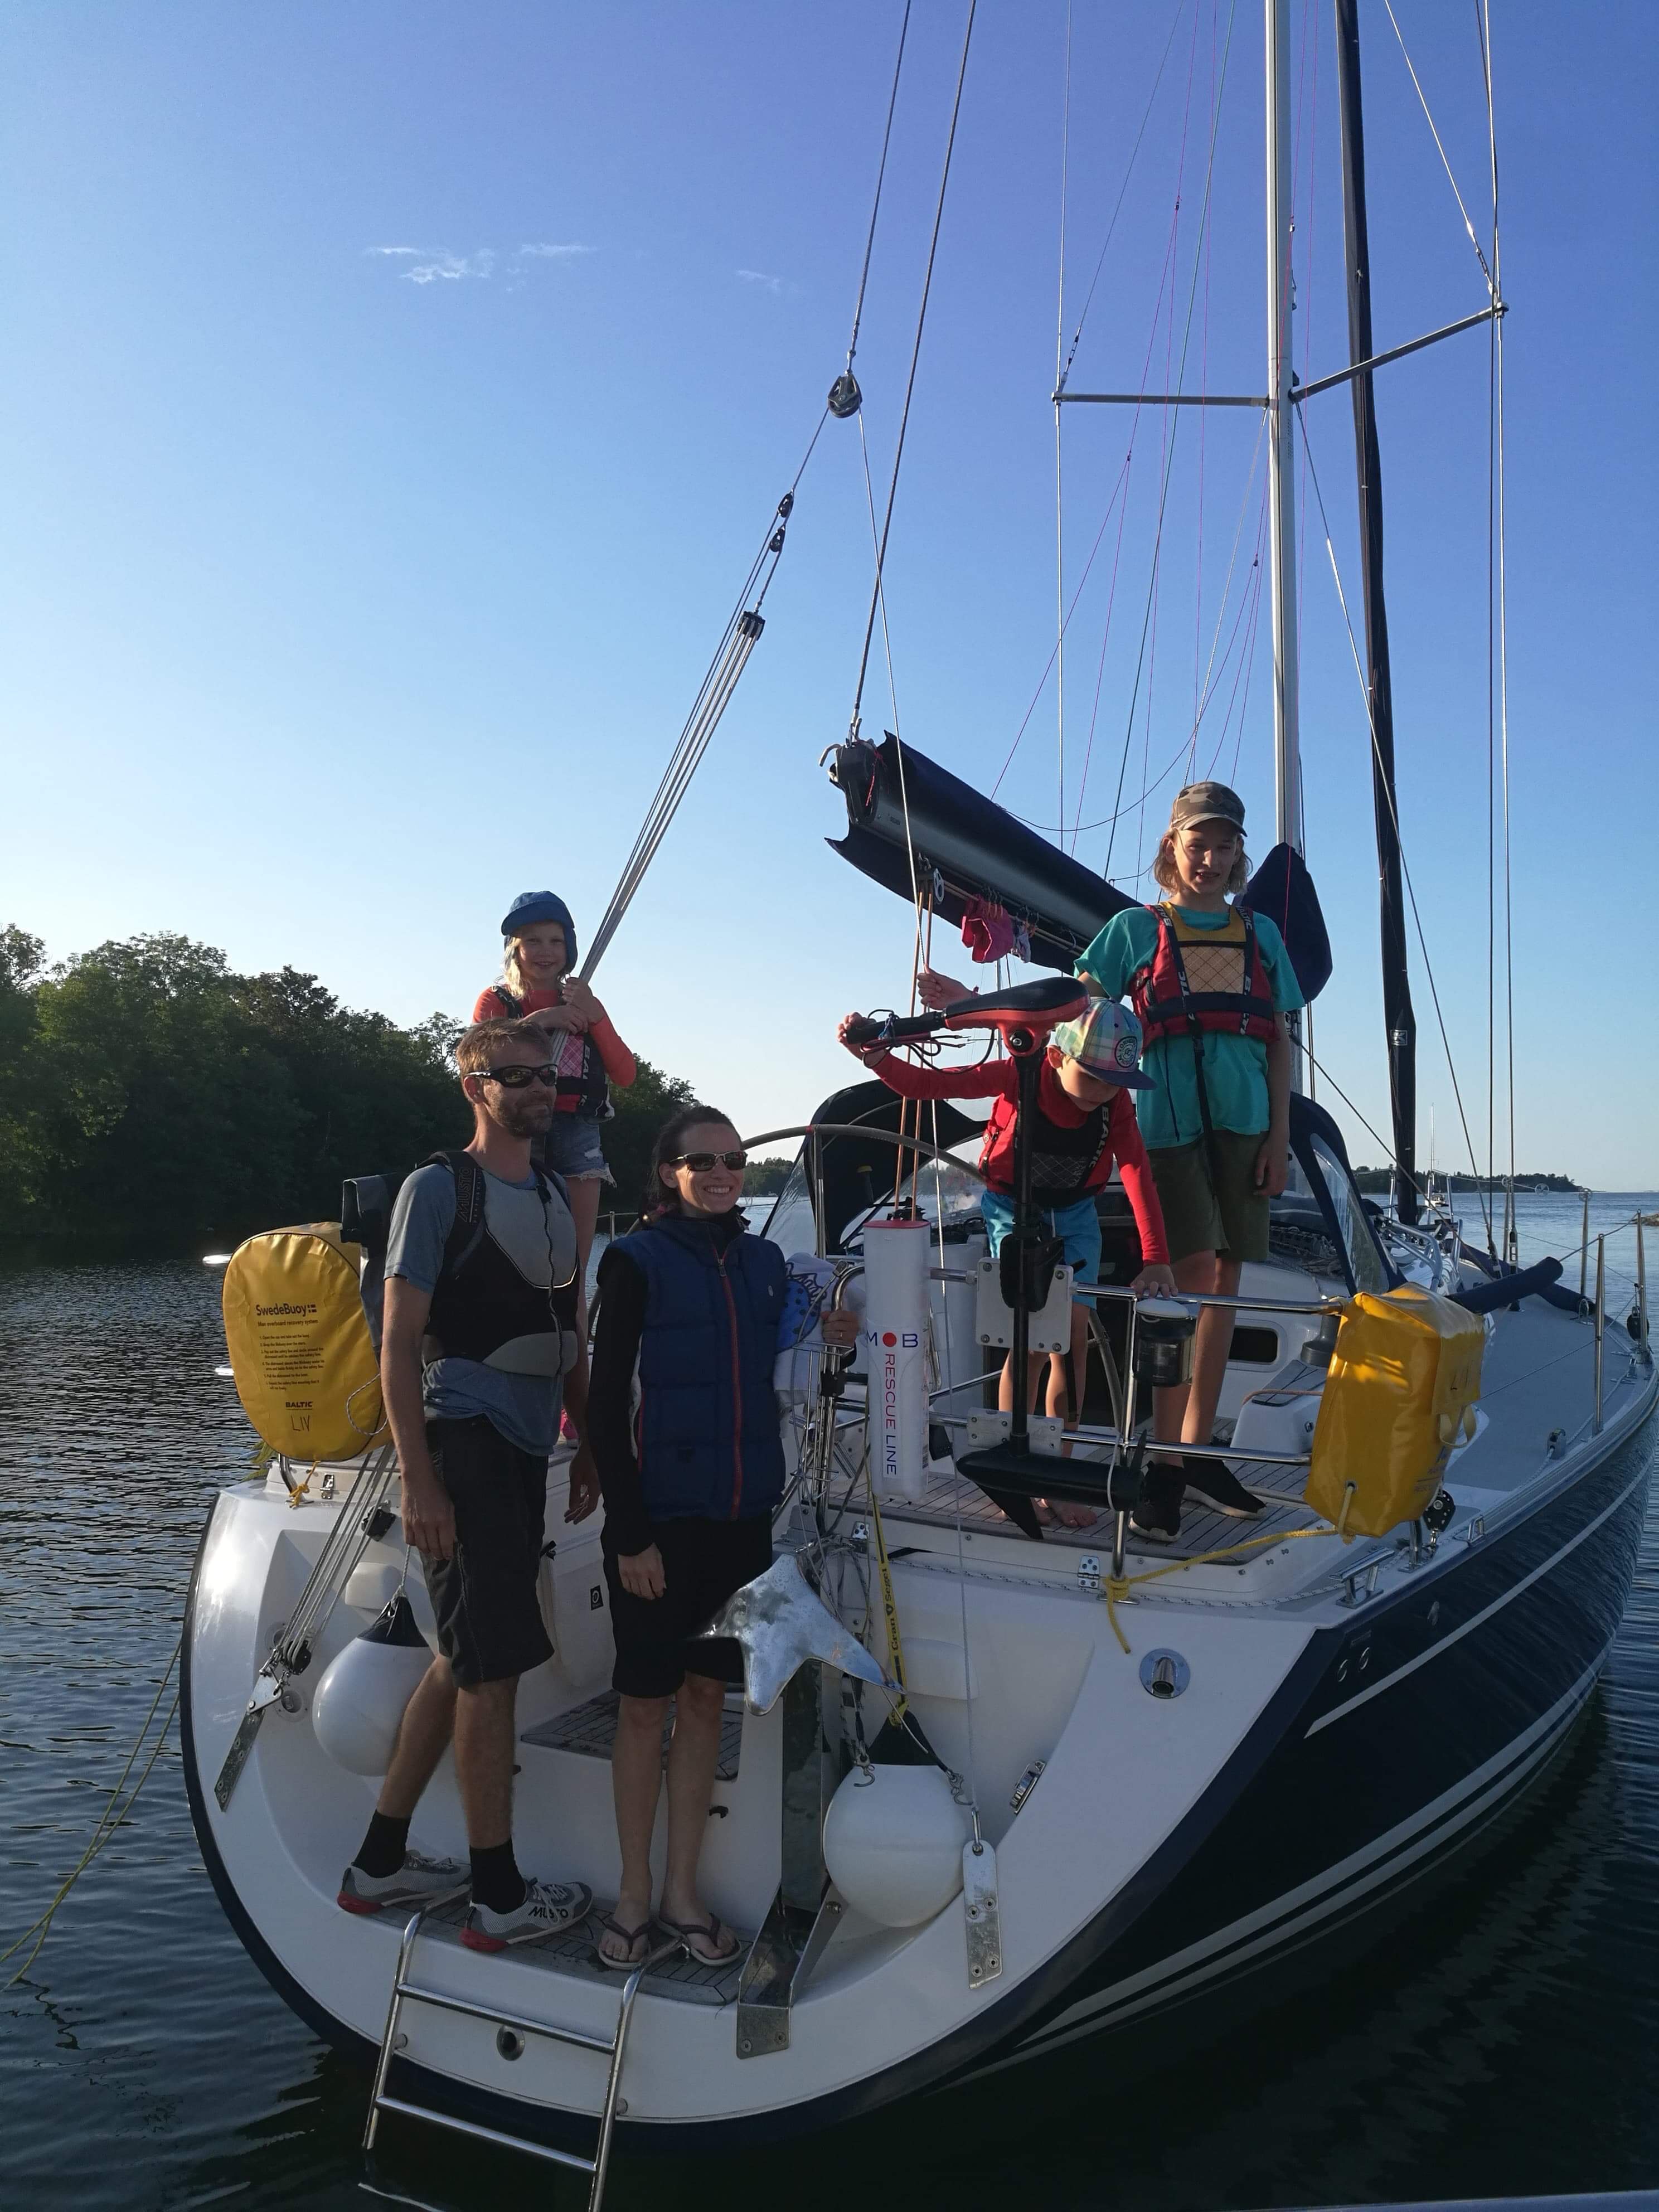
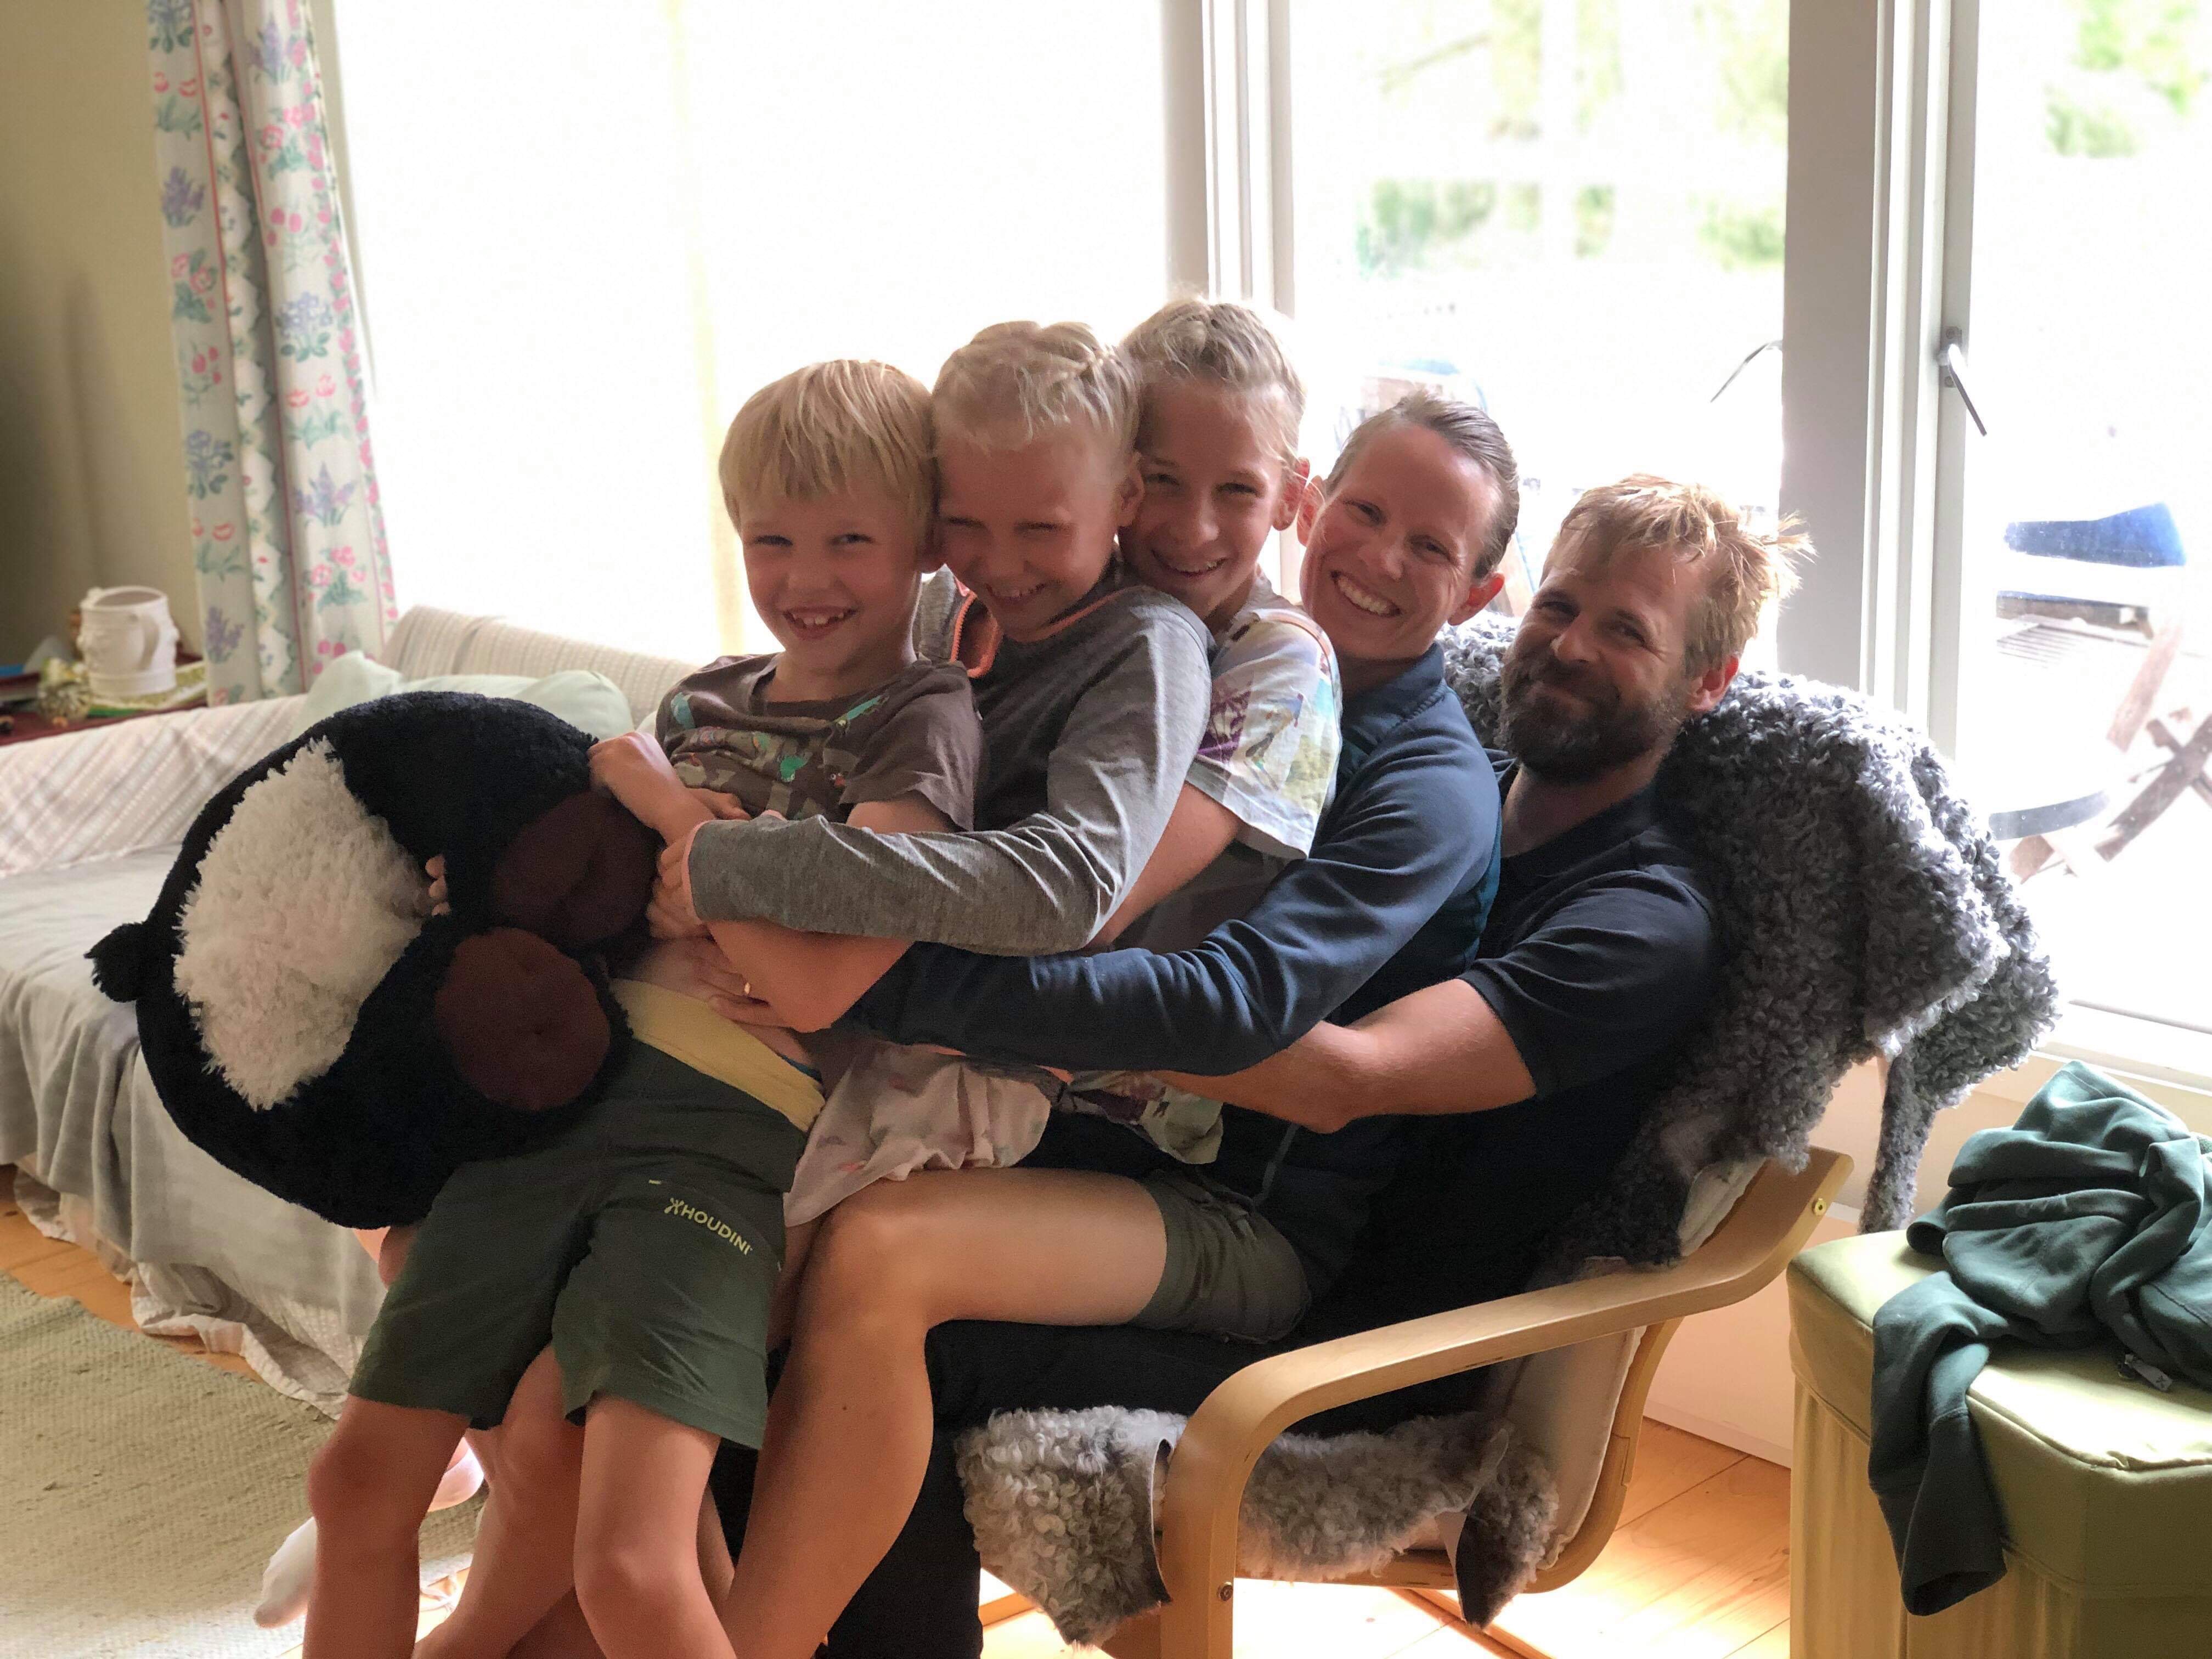
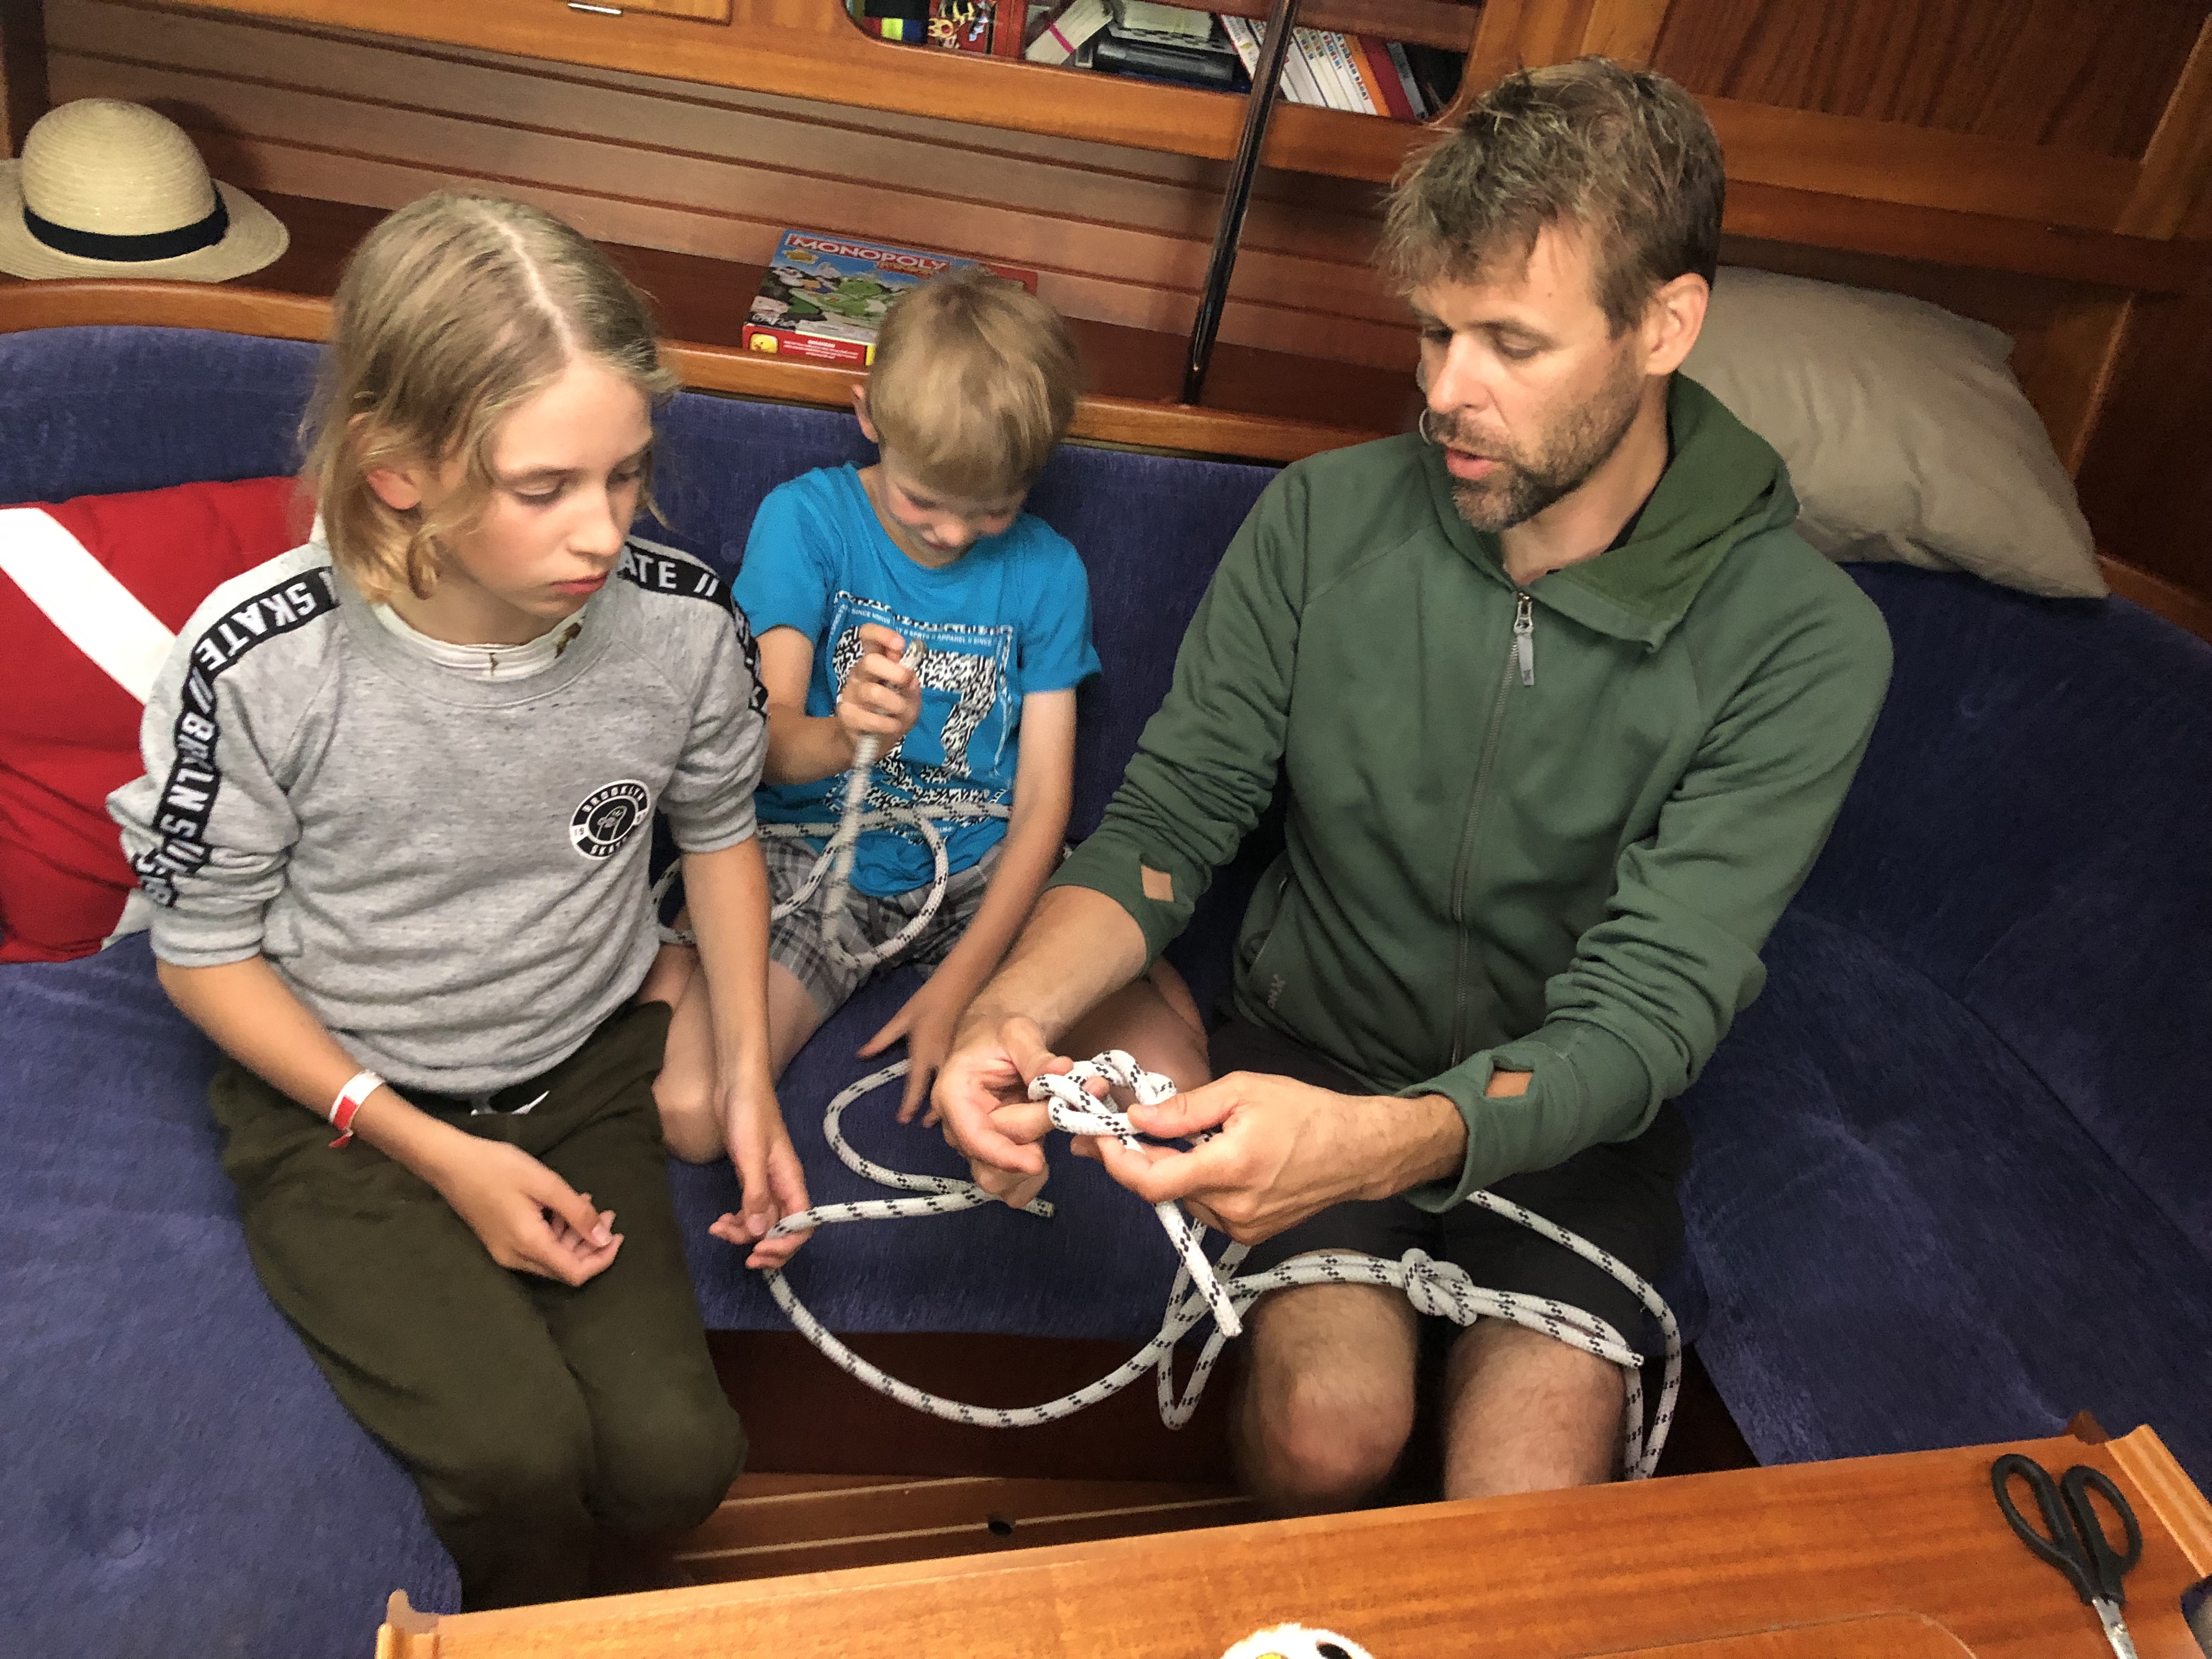
Jonas Edholm, his wife Susanna, and their children Axel (11), Alma (8), and Atle (6) are planning to sail across the Atlantic in a 12 metre yacht next year.
Their boat, Liv, has a displacement of 7.7 tons and can set almost 100m² of sail – not including their five spinnakers.
Whilst a lot of parents hesitate to take their children out of their routine for fear of what they might miss, Jonas and Susanna take the opposite view:
Our main objective is to show our children that you can pursue your goals and dreams and that you don’t always have to follow all the norms of what you should do and should not do. This project involves us all in the family and will give us experiences and memories that will last our lifetime.
Our children will both learn and experience different cultures, people, geography, languages, and environment that is very different from the traditional classroom. During our journey, the children will also be homeschooled and follow the Swedish school’s curriculum so they get the same schooling as the children back home.
Their journey will begin next July, commencing Stockholm, and will take them through the English Channel, Bay of Biscay and out to the Canary Islands, before crossing the Atlantic to spend the winter in the Caribbean …but you can start to follow their blog, now. In spring 2021 they will begin their homeward journey and be back in Stockholm before school starts in mid-August.
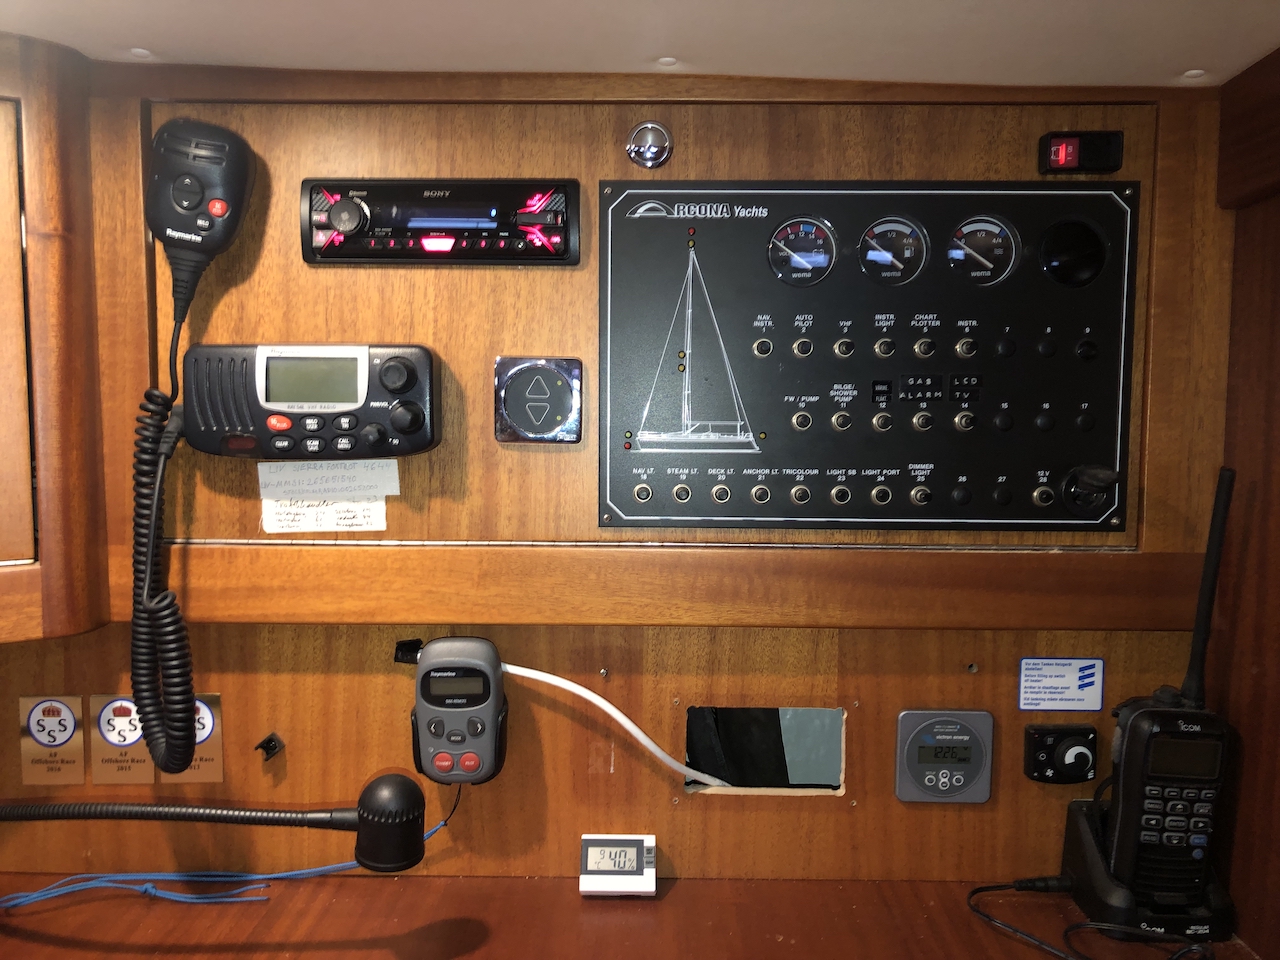
Jonas – who works in IT and computer science – has been taking a great interest in the electrical set-up of their boat. The navigation and communication station includes:
Raymarine e95 MFD plotter
Wind, Log and Depth data on Raymarine displays, 2 x i70s, 1 x i60 Wind , 1 x ST60 Wind and 1 x i70
Raymarine Evolution Autopilot with linear drive
Raymarine RN300 GPS
Raymarine RAY 54E VHF
AIS Trueheading CTRX Carbon+
ShipModul MiniPlex – 2Wi
4G Router
Additionally there is a low-power refrigeration unit; an 800W foredeck windlass – and a 1000W stern windlass, both of which would be used only occasionally, with the engine running. There’s a water heater which can be electrically-powered but is plumbed into the engine’s water cooling circulation. There’s an Eberspächer diesel heater, too, which has an electric fan drawing between 7 and 40 Watts – depending on blow-speed.
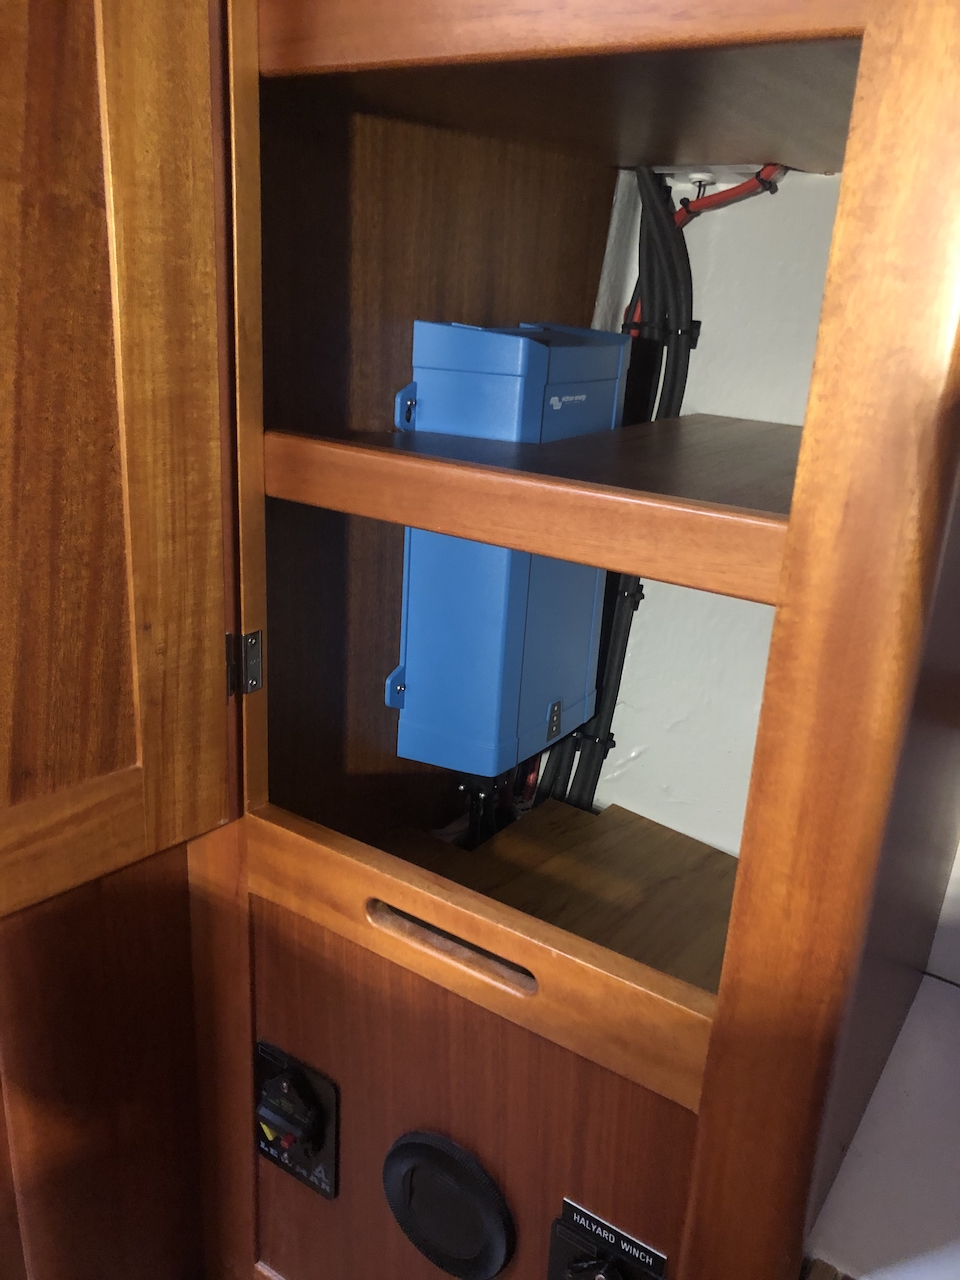
Liv’s power supply, control and storage comprises:
- 320 Ah LiFeYPO4 lithium batteries
- Victron BMV-712 battery monitor
- Victron SmartSolar MPPT 75/15
- 55W Solara M-Series Solar Panel (planned to increase to 800W)
- Balmar 120A alternator
- Victron MultiPlus 1600VA
Jonas prefers manual intervention and monitoring of his system. Here, in his own words, is how he has set it up:
(I’ve taken the liberty of re-phrasing some of his words. Any resulting errors are my own.)
By connecting a relay cable from the battery monitor to the switch of the ML-RBS remote battery switch, I can trigger the ML-RBS to disconnect the battery if the BMV-712 measures an overvoltage or undervoltage event on the battery bank.
For simplicity I ran the wire from the battery monitor to the remote switch instead of to the battery switch. I got a couple of questions from a facebook group (which I recommend: https://www.facebook.com/groups/427372107686109/) about my wiring. Here they are if you’re interested:
- Always-on bus bar -> BMV-712 (COM)
- BMV-712 (NC) -> Contura Remote switch (Pin 1)
Since I am using the ML-RBS 7700 I am not employing inverted settings on the BMV-712 and the NC (Normally Closed) relay connection from the BMV-712 to the Contura switch.
If the over-voltage relay is triggered, I have to re-connect the battery manually at the remote battery switch. It doesn’t happen automatically – but I figured that if an over-voltage event is triggered, I want to investigate before re-connection is made.
BMV settings
The BMV-712 needs some specific settings when you use the BMV with Lithium batteries since they have a much higher charge efficiency.
Some friends have been using Pukert exponent 1.03 and Charge efficiency factor: 98% with excellent results for their lithium Winston cells or Winston 12V batteries. These settings are slightly different from the recommended settings from Victron. So I’m going to start with the recommended settings from Victron and see if I need to adjust them over time.
Current settings on the Victron BMV-712
- Battery capacity: 320Ah
- Charge voltage: 14.0V
- Tail current: 4.00%
- Charged detection time: 3m
- Pukert exponent: 1.05
- Charge efficiency factor: 99%
- Current threshold: 0.10A
- Time-to-go averaging period: 10m
- Relay mode: Default
- Invert relay: Off
- Minimum closed time: 0m
- Relay-off delay: 0m
- Low SOC relay
- Low voltage relay: On: 11.6V, Off 11.7V
- High voltage relay On: 14.6V, Off 14.2V
- Alarm buzzer: on
- Low SOC alarm On: 10%, Off: 12%
- Low voltage alarm On 12.6V, Off: 12.7V
- High voltage alarm On: 14.5V, Off: 14.2V
Mounting and configuring MultiPlus inverter/charger
I prepared the mounting and wiring for the MultiPlus. The only thing that remained was to program it.
The mounting is not ideal in a cabinet as there might be some issues with cooling. I don’t expect to use either the inverter or the charger for long periods – but I will have to monitor the temperature.
There are some dip-switches on the MultiPlus which enable some settings but don’t offer the charge profile that I want to use. The MultiPlus charge profile for lithium using dip-switches would set the absorption to 14.1 V and the float to 13.8 V – which is too high for my preference. Neither can I set the charge curve with the dip switches.
I bought a USB to VE.Bus converter which allows me to make my own settings using Victron’s VE Configure software – because I might fiddle with the settings after some testing and adjust them over time.
The current settings used after configuring the MultiPlus using VE.Bus are:
- Lithium batteries: Checked
- Use equalization: Not checked
- Charge curve: Fixed
- Absorption voltage: 13.80 V
- Float voltage: 13.30 V
- Charge current: 37 A
- Repeated absorption time: 1 Hr
- Repeated absorption interval: 14.00 Days
- Absorption time: 1 Hr
These settings will make the battery pack stay below and never reach 100 % SOC – but that is something that I prefer. It will also disable the Float charge cycle since the float setting is too low to start. Neither charging to 100 % of SOC or using Float is something that I want.
Configuring MPPT
I had already installed the MPPT. Since the SmartSolar MPPT 75/15 connects to the VictronConnect app via Bluetooth, it’s effortless to configure the settings on the MPPT.
Current settings on the SmartSolar MPPT 75/15
- Absorption voltage: 13.90V
- Maximum absorption time: 6h 0m
- Float voltage: 13.20
- Equalization voltage: 0.00V
- Temperature compensation: Disabled
- Low temperature cut-off: 10.0°C
Finally, because I don’t want the Charger permanently ‘on’ when connected to shore power …and neither do I want the Inverter to be permanently ‘on’ – drawing stand-by power – when it’s not in use, I wanted to have an easy way to turn the unit on and off. For this I have installed a Digital Multi Control Panel.
If you are planning a journey – over land or sea – and want to exchange ideas …why not start a discussion on the Victron community page?
Right then, which way is South?


