2. Installation
Caution
Be aware that this process will result in the loss of all data on the Android device.
Note
The Android operating system is customised by the device manufacturer. The steps outlined in this manual may have a slightly different look or feel from your particular device.
Before you start, make sure you meet these requirements:
Android device: The minimum supported Android version is Android 8.
QR code: You'll find the Victron QR code on the following page, so have it ready for scanning when needed during the process.
Venus OS: Your GX device firmware must be version 3.50 or higher.
Factory reset the Android device: Check that the Android device has been factory reset. If you are using a brand-new device, it should already be in a factory reset state.
If you are using a previously-owned Android device, please refer to the manufacturer's documentation for specific instructions on how to perform a factory reset.
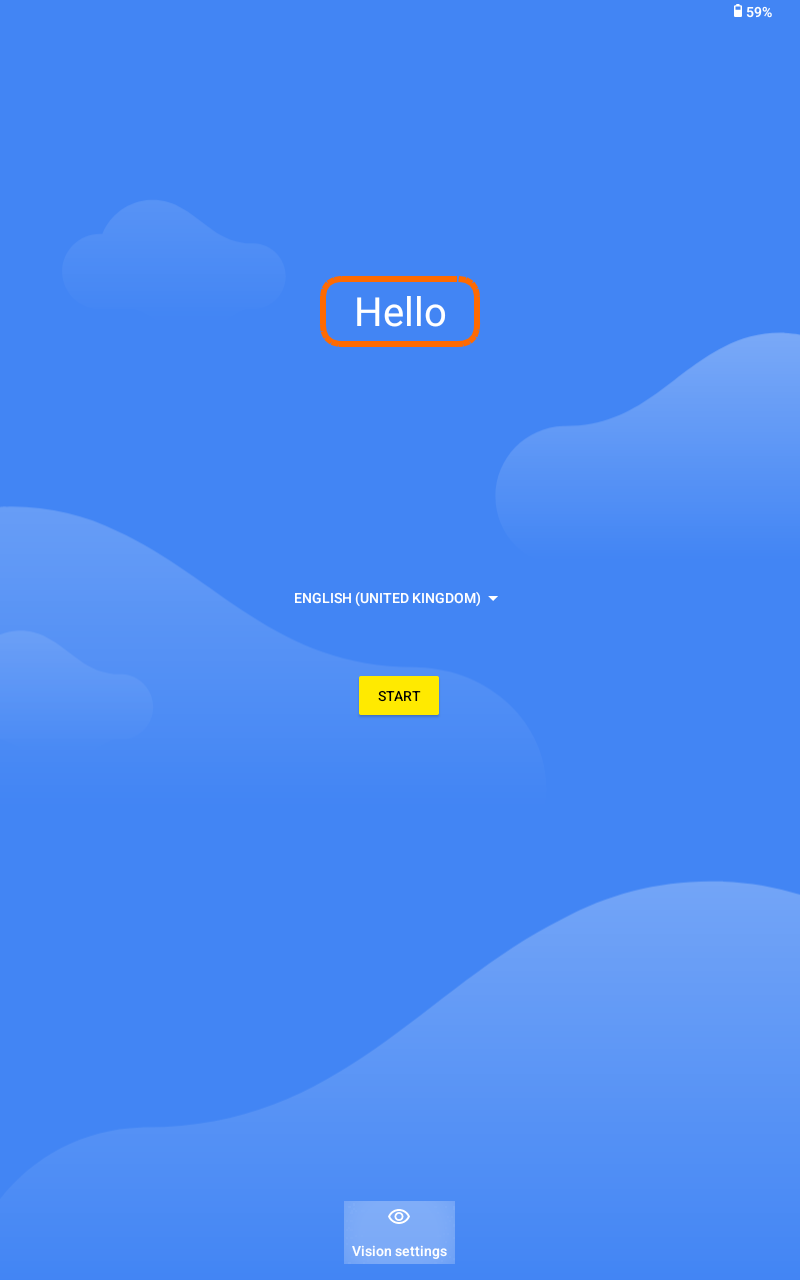
Turn the device on with its power button. The device should automatically restart if you have just performed a factory reset.
You should be presented with a welcome screen.
|
|
 |
|

NoteThe setup process requires an internet-connected network. This is necessary because the app needs to be downloaded and installed. Once the app has been installed, you will no longer need an internet connection. After scanning the QR code, your Android device should display a list of nearby WiFi networks.
|
|

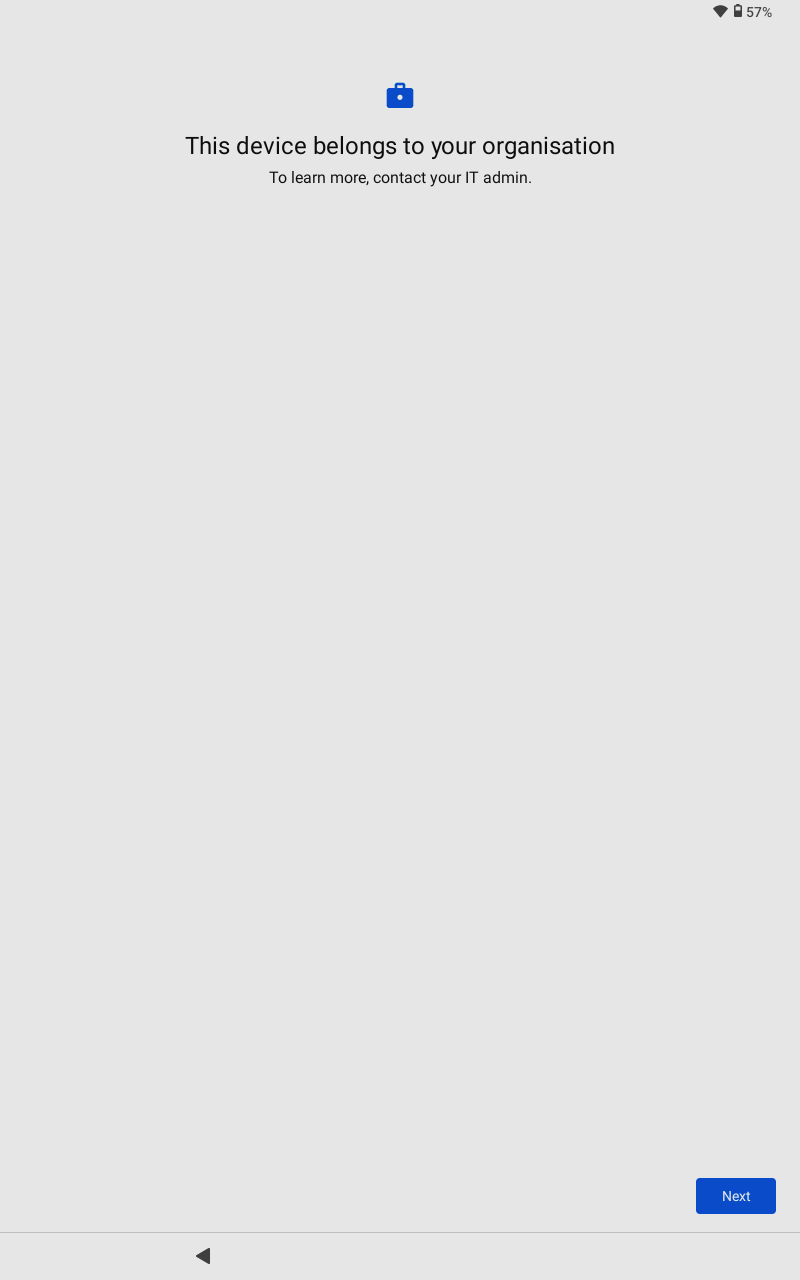
NoteThe setup method we are using is most commonly found in corporate environments. It is known as MDM (Mobile Device Management).
After you have accepted the terms and conditions, the device will begin installing the app. The device will also check for any available updates during the installation process. |
|
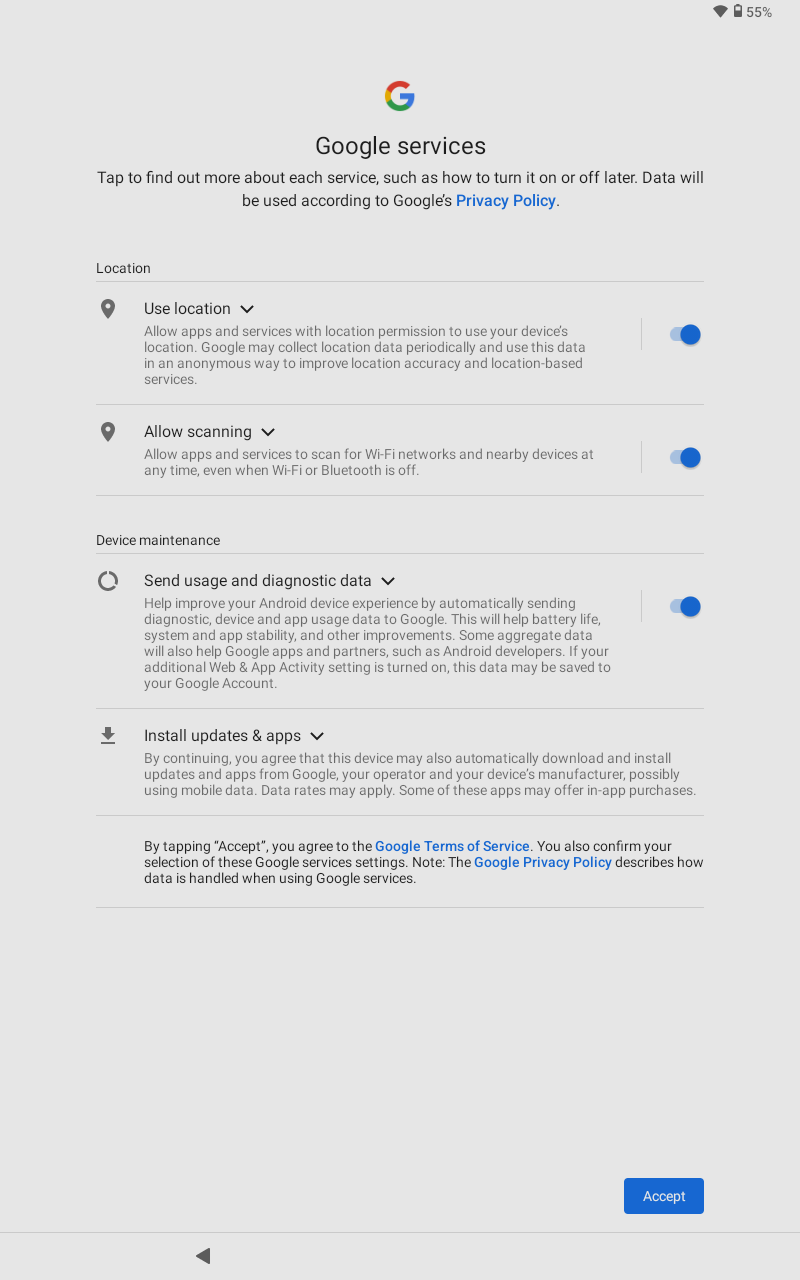
Some devices may ask you to select location and WiFi scanning permissions. These are optional settings, but can be left enabled to enhance your WiFi connection and help find GX devices on your network.
This will complete the app installation. |
|