
Lithium Battery Smart circuit board replacement instruction

3. Opening the battery case

In this section:

There are three different battery case types. The way the battery is opened differs for each different battery case type:

  • Situation 1: The battery case has screws that are visible on top of the battery.

  • Situation 2: The battery case does not have screws that are visible on top of the battery and has ventilation slots.

  • Situation 3: The battery case does not have screws that are visible on top of the battery and does not have ventilation slots.

These are the instructions for each situation:

Opening instructions for situation 1:

  • Remove the two large aluminium nuts from the terminals.

  • Remove all Philips head screws from the top cover.

  • Lift the lid upwards to remove it.

Lithium_circuit_board_replacement_-_Opening_battery_with_screws.png

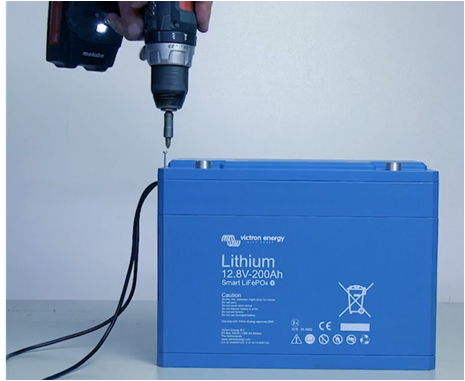
Opening instructions for situation 2:

  • Remove the two large aluminium nuts from the terminals.

  • Using a piece of wood and a hammer, tilt the piece of wood up into one of the ventilation holes and give the piece of wood a short and firm tap with the hammer.

  • Repeat for each ventilation hole.

  • Lift the lid upwards to remove it.

Lithium_circuit_board_replacement_-_Opening_battery_with_ventilation_slots.png

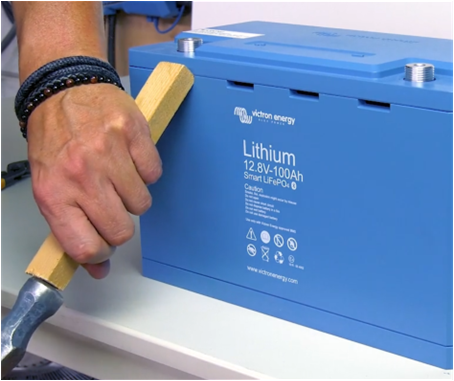
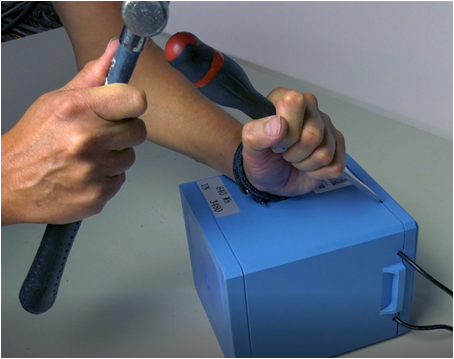
Opening instructions for situation 3:

  • Remove the two large aluminium nuts from the terminals.

  • Using a large flat head screwdriver and a hammer, lay the battery on its side and place the screwdriver at an angle in the seam between the top cover and the battery case, and give a few short and firm taps on the screwdriver with the hammer.

  • Repeat at regular intervals around the battery.

  • Place the battery upright and lift the lid upwards to remove it.

Lithium_circuit_board_replacement_-_Opening_battery_without_ventilation_slots.png