 Add this page to your book
  Remove this page from your book
  Manage book (
 Help
Help This is an old revision of the document!
Offgrid BYD on Victron install guide
Installation guide and basic review for BYD B-Box Res IP55 with 4×2.5kWh batteries on Victron off-grid system
Guide by: Oliver Holmgren & Guy Stewart

Disclaimer: No warranty of the accuracy or completeness of the information in this document is given. Any qualified or otherwise party who chooses to use this document and the information contained does so at their own discretion and risk. The authors of this document are in no way liable for the use or misuse of this information.
Cabinet, breakers and cables
Packaging seemed solid enough and indicates that this is Version 1.1. There were no damage or marks to paint or otherwise.
There was no installation manual or warranty documentation included. Also see BYD installation video.
The cabinet seems decently made. External edges are smooth. The access panel (not door) is screwed on with six button head cap screws (also called allen key or hex key bolts).
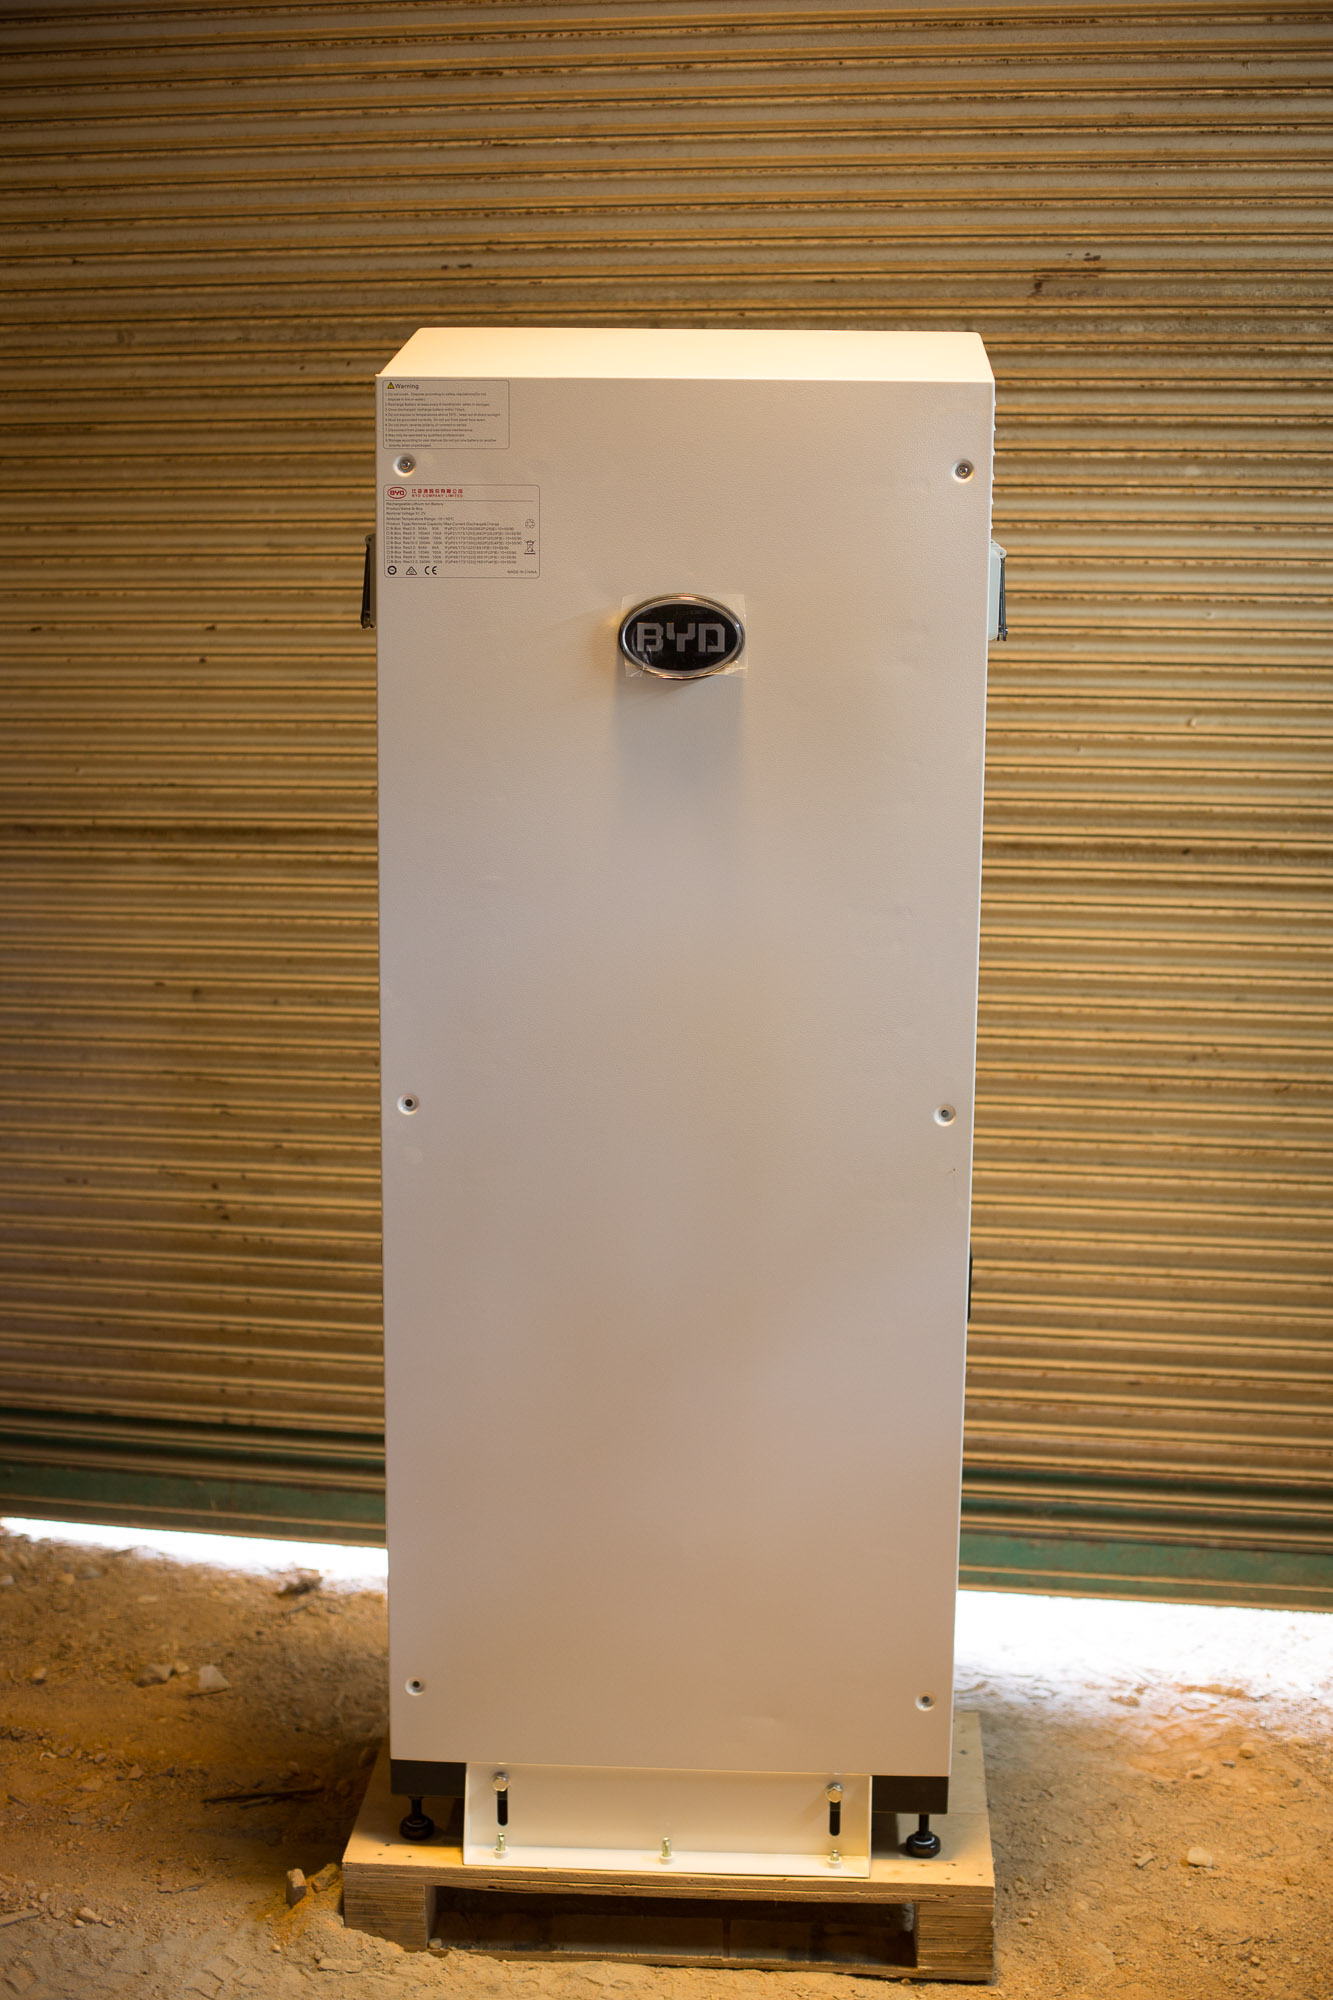
BYD B-Box IP55 Cabinet V1.1
There is a foam seal all the way around the panel that should seal reasonably well when screwed on. The screws bound in their threads a little. Some remains of metal particles in the threads seemed to be the cause. The second unit we installed actually had one screw seize in the thread and needed cutting off and drilling out. There are handles on the side for lifting. There are air vents on the top right and bottom left. They are screened with a fine metal mesh and have filter foam on the inside. However the filter foam wasn’t perfectly flat. Might need adhering to work properly. Given there isn’t much air flow in the box I can’t imagine this will be an issue. The main thing I was worried about was sharp edges inside the cabinet that would make installation an issue but all the edges seemed finished reasonably well. No cuts or scrapes on hands after the install.
There is an electrical wiring diagram on the inside of the access panel.
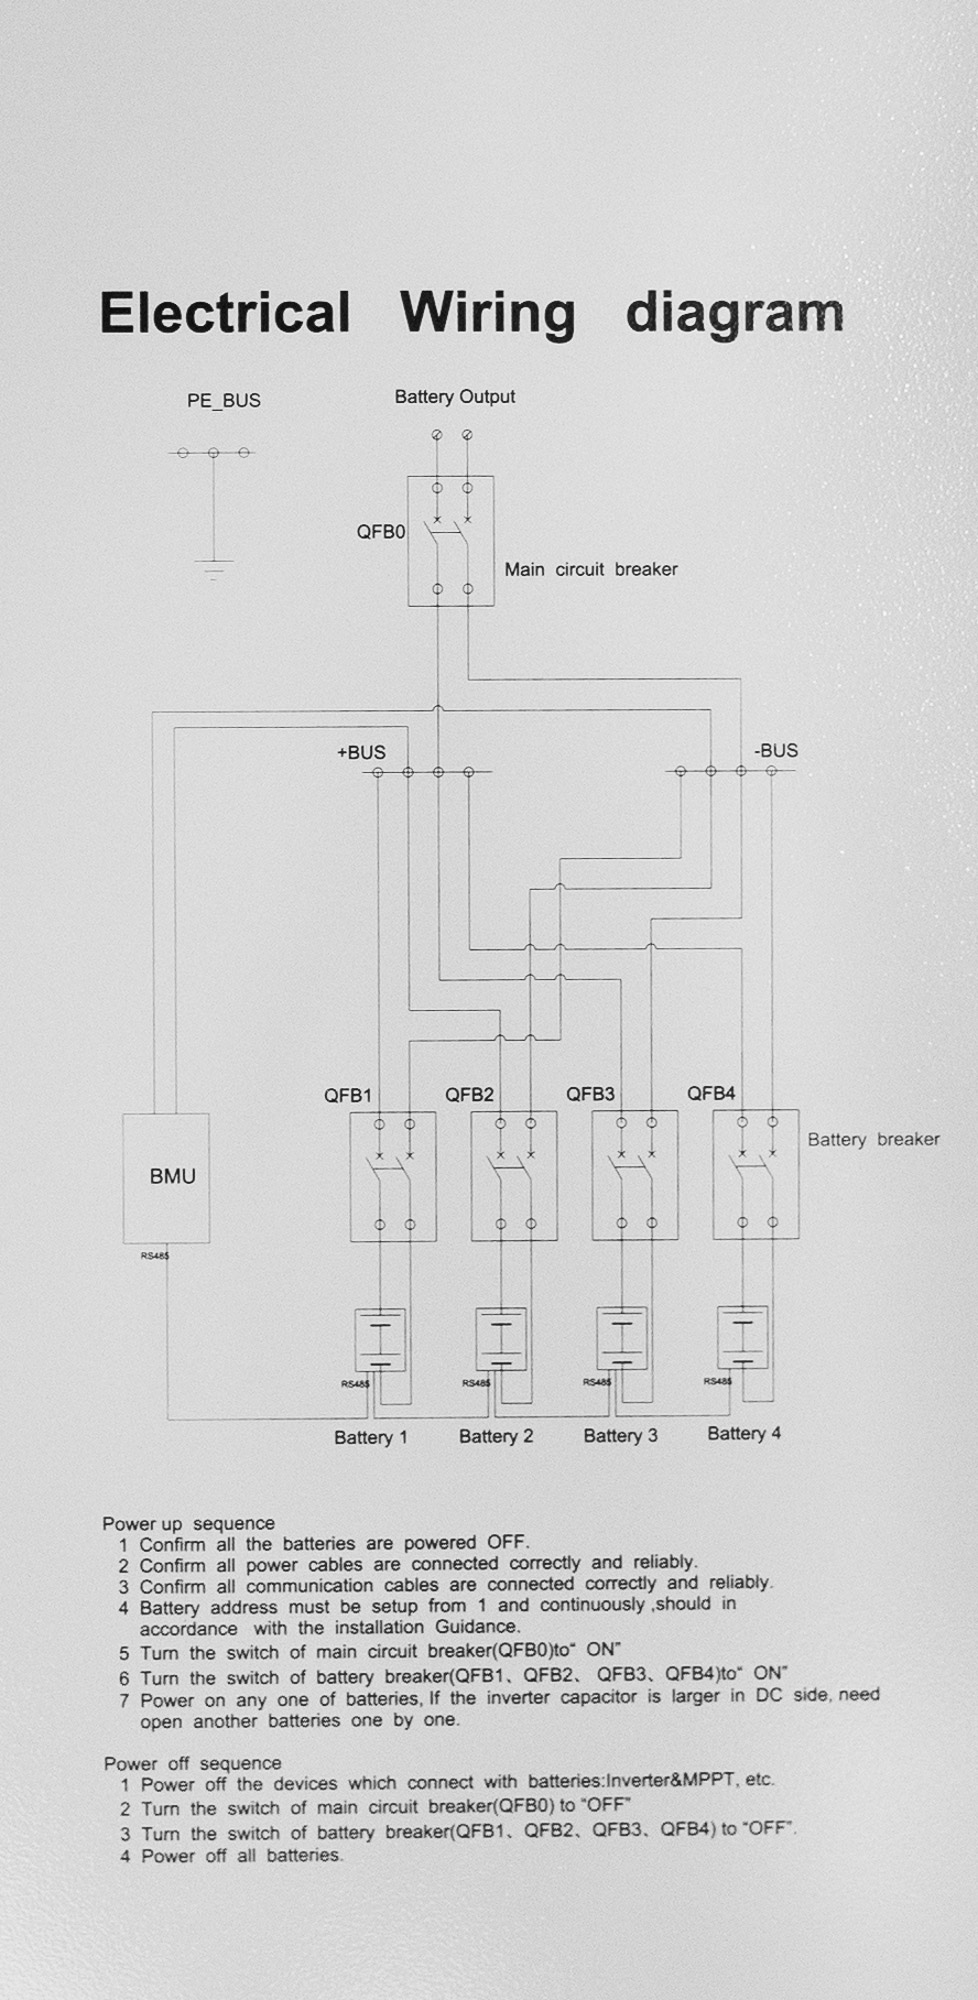
There are four individual breakers (one per battery unit) that are externally switchable and one main breaker (also externally switchable).
Both breaker blocks must be unbolted to get to the clamp screws for installing the remaining cables. The battery cables supplied with each battery are lugged on both ends. The lugs are of different sizes. Ensure you select the correct lug size for the battery end and the larger end for the breaker block as you will have to cut the lugs off at the breaker block end. Little lightweight cable end crimps are supplied that are soft enough to conform when screwed down in the breaker blocks.
Caution: ensure you seat and firmly tighten the cables in the breaker blocks.
I tightened the screws and then wiggled the cables and then check the cables couldn’t move in the breaker blocks. Reason being is its very hard to get to the screws to tighten the breaker block clamps after all the batteries are installed in the cabinet. Obviously also be careful as the breaker blocks could…break, if over tightened.
Because the cabinet can have 1, 2, 3 or 4 batteries installed, quite a lot of cabling still need installing. This may be a downside for installers given the time it takes to get it all in place compared to a pre built unit.
There are nice cable management channels however there are metal screws that hold them on that stick up.
